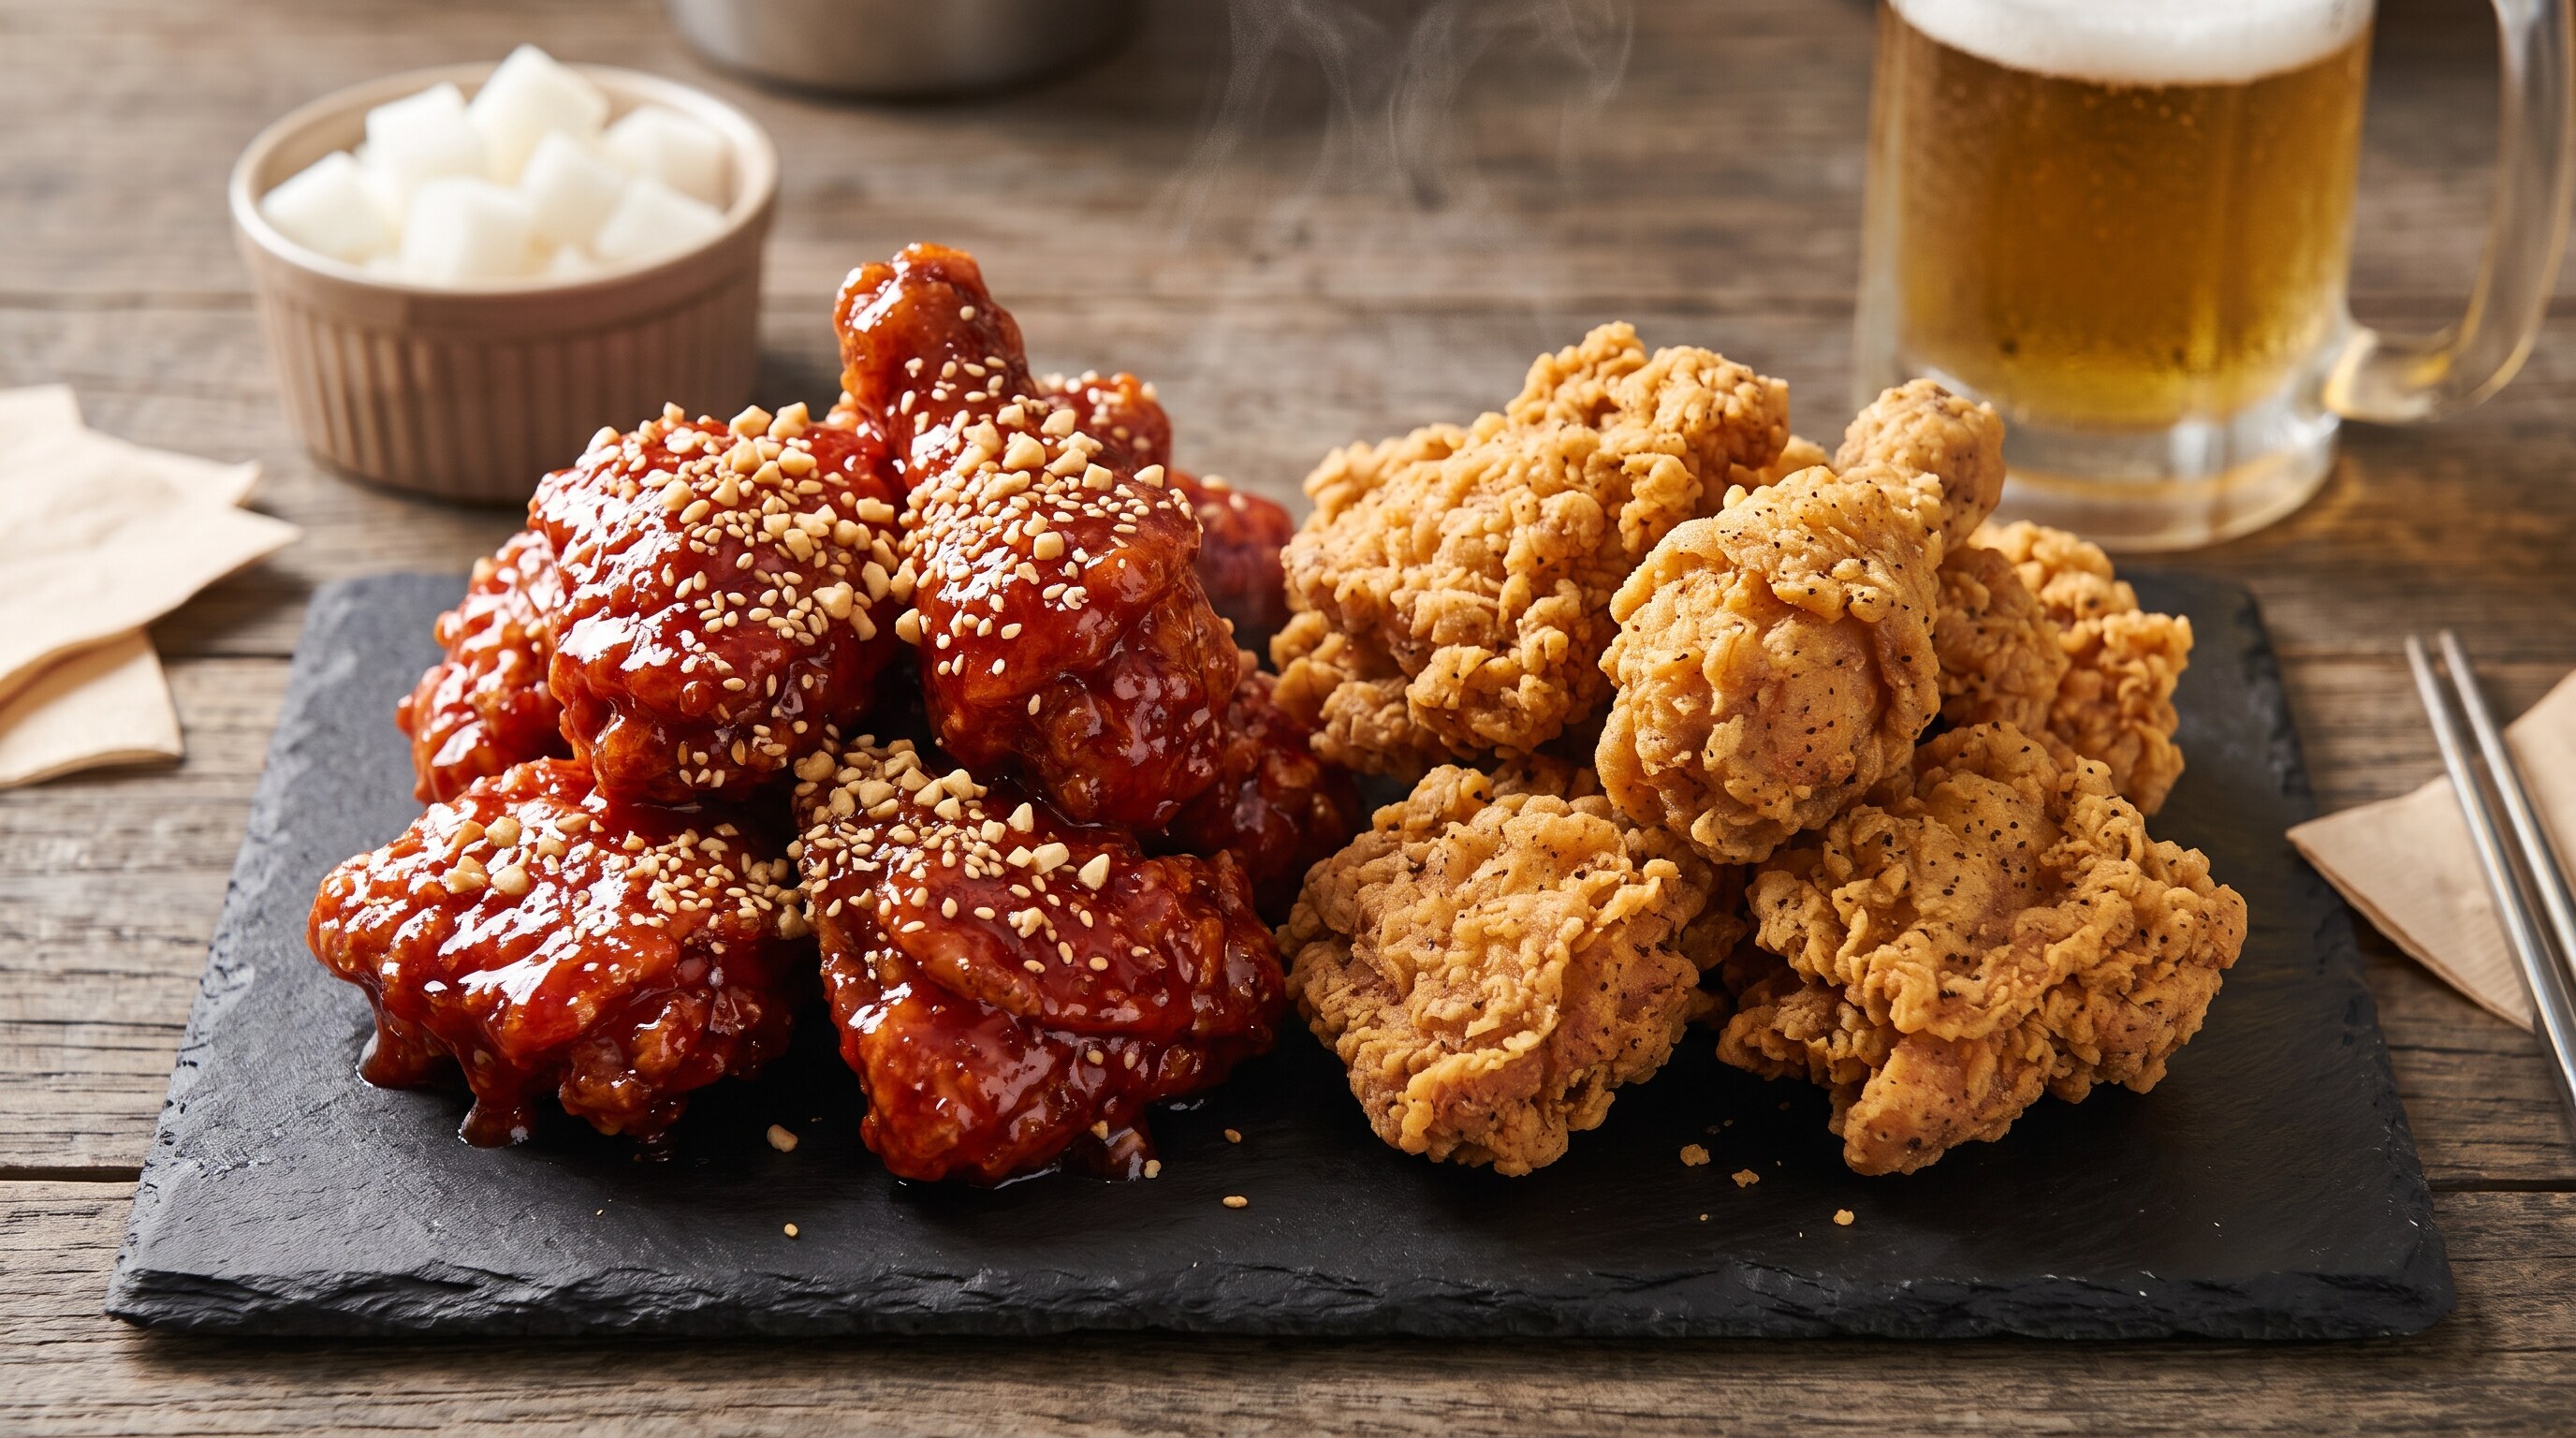
Quick Recipe Snapshot: ⏱️ Prep: 30 mins | 🔥 Cook: 25 mins | 🍽️ Servings: 3–4 | 💡 Key Secret: 30-minute milk brine + low-gluten potato starch dredge + two-stage double frying (320°F / 160°C par-fry & 355°F / 180°C crisp-fry) + 1:1:1 sticky garlic-gochujang glaze.
Globally celebrated as the pinnacle of fried poultry, Korean Fried Chicken—known in Korea simply as Chikin (치킨)—is an international culinary obsession. Unlike Western-style Southern fried chicken with its thick, heavily seasoned buttermilk-flour crust, classic Korean fried chicken is prized for its paper-thin, crackling, glass-like shell that shatters on impact while encasing extraordinarily juicy, steaming meat. Even more remarkable is its structural resilience: even after being drenched in a bubbling, sticky-sweet garlic-gochujang glaze (Yangnyeom), the crust maintains its audible crunch for hours.
Yet replicating this Korean pub magic at home often results in frustration. Home cooks frequently encounter a soggy, oil-logged coating that slides off the meat, a crust that softens into a gummy paste the moment sauce touches it, or bone-in pieces that remain undercooked near the joint while the exterior burns dark brown.
Professional Korean chicken masters (chikin jang-in) eliminate every single one of these pitfalls through three foundational food science principles: lactic acid milk brining to relax muscle proteins, a low-gluten potato starch barrier matrix, and two-stage moisture-evacuation double frying.
Whether you crave the savory crunch of Original Crispy (Huraideu) or the addictive sweet-spicy heat of classic Yangnyeom, this guide walks you through the exact thermal science and golden ratios to serve half-and-half (Ban-Ban) perfection from your own kitchen.
1. The Culinary Science Behind Glass-Crisp Korean Fried Chicken
The difference between ordinary home-fried chicken and Korean chicken shop crunch is not culinary folklore—it is strict thermodynamic and carbohydrate chemistry.
💡 Culinary Science 1: Low-Gluten Potato Starch Matrix & Micro-Blister Formation Standard wheat flour contains glutenin and gliadin proteins that, when hydrated, cross-link into an elastic gluten web. Under frying temperatures, this gluten network traps internal water vapor and absorbs oil, causing the crust to turn bread-like and rapidly soggy. Korean fried chicken relies on high-purity potato starch (or cornstarch) blended with only a small proportion of flour and baking powder (which releases carbon dioxide micro-bubbles when heated). Potato starch features large amylopectin granules with a low gelatinization temperature and zero gluten. When plunged into hot oil, surface water flashes into steam instantaneously, expanding the starch into millions of wafer-thin, microscopic blisters that lock out liquid sauce.
💡 Culinary Science 2: Two-Stage Double Frying (320°F / 160°C Par-Fry & 355°F / 180°C Crisp-Fry) Frying raw chicken in a single pass leaves deep internal moisture trapped inside the muscle fibers. As soon as you pull the chicken from the pot, that trapped steam migrates outward into the crust, softening the brittle starch matrix within 5 minutes. Korean double-frying solves this through two distinct thermal phases:
- Stage 1 Par-Fry (160°C / 320°F for 8–10 mins): Gentle heat cooks the poultry all the way to the bone (reaching an internal temperature of 74°C / 165°F), melts tough collagen into silky gelatin, and sets a pale blonde starch scaffold without scorching.
- Wire-Rack Resting Phase (3–4 mins): Resting on an elevated rack allows residual heat to push internal moisture out to the surface of the crust.
- Stage 2 Crisp-Fry (180°C / 355°F for 2–3 mins): Plunging the chicken back into high heat flash-vaporizes that migrated surface moisture in seconds, vitrifying the starch into a rigid, glass-like shell that stays crisp even under sticky glaze.
2. Essential Ingredients & The Golden Ratio Yangnyeom Glaze
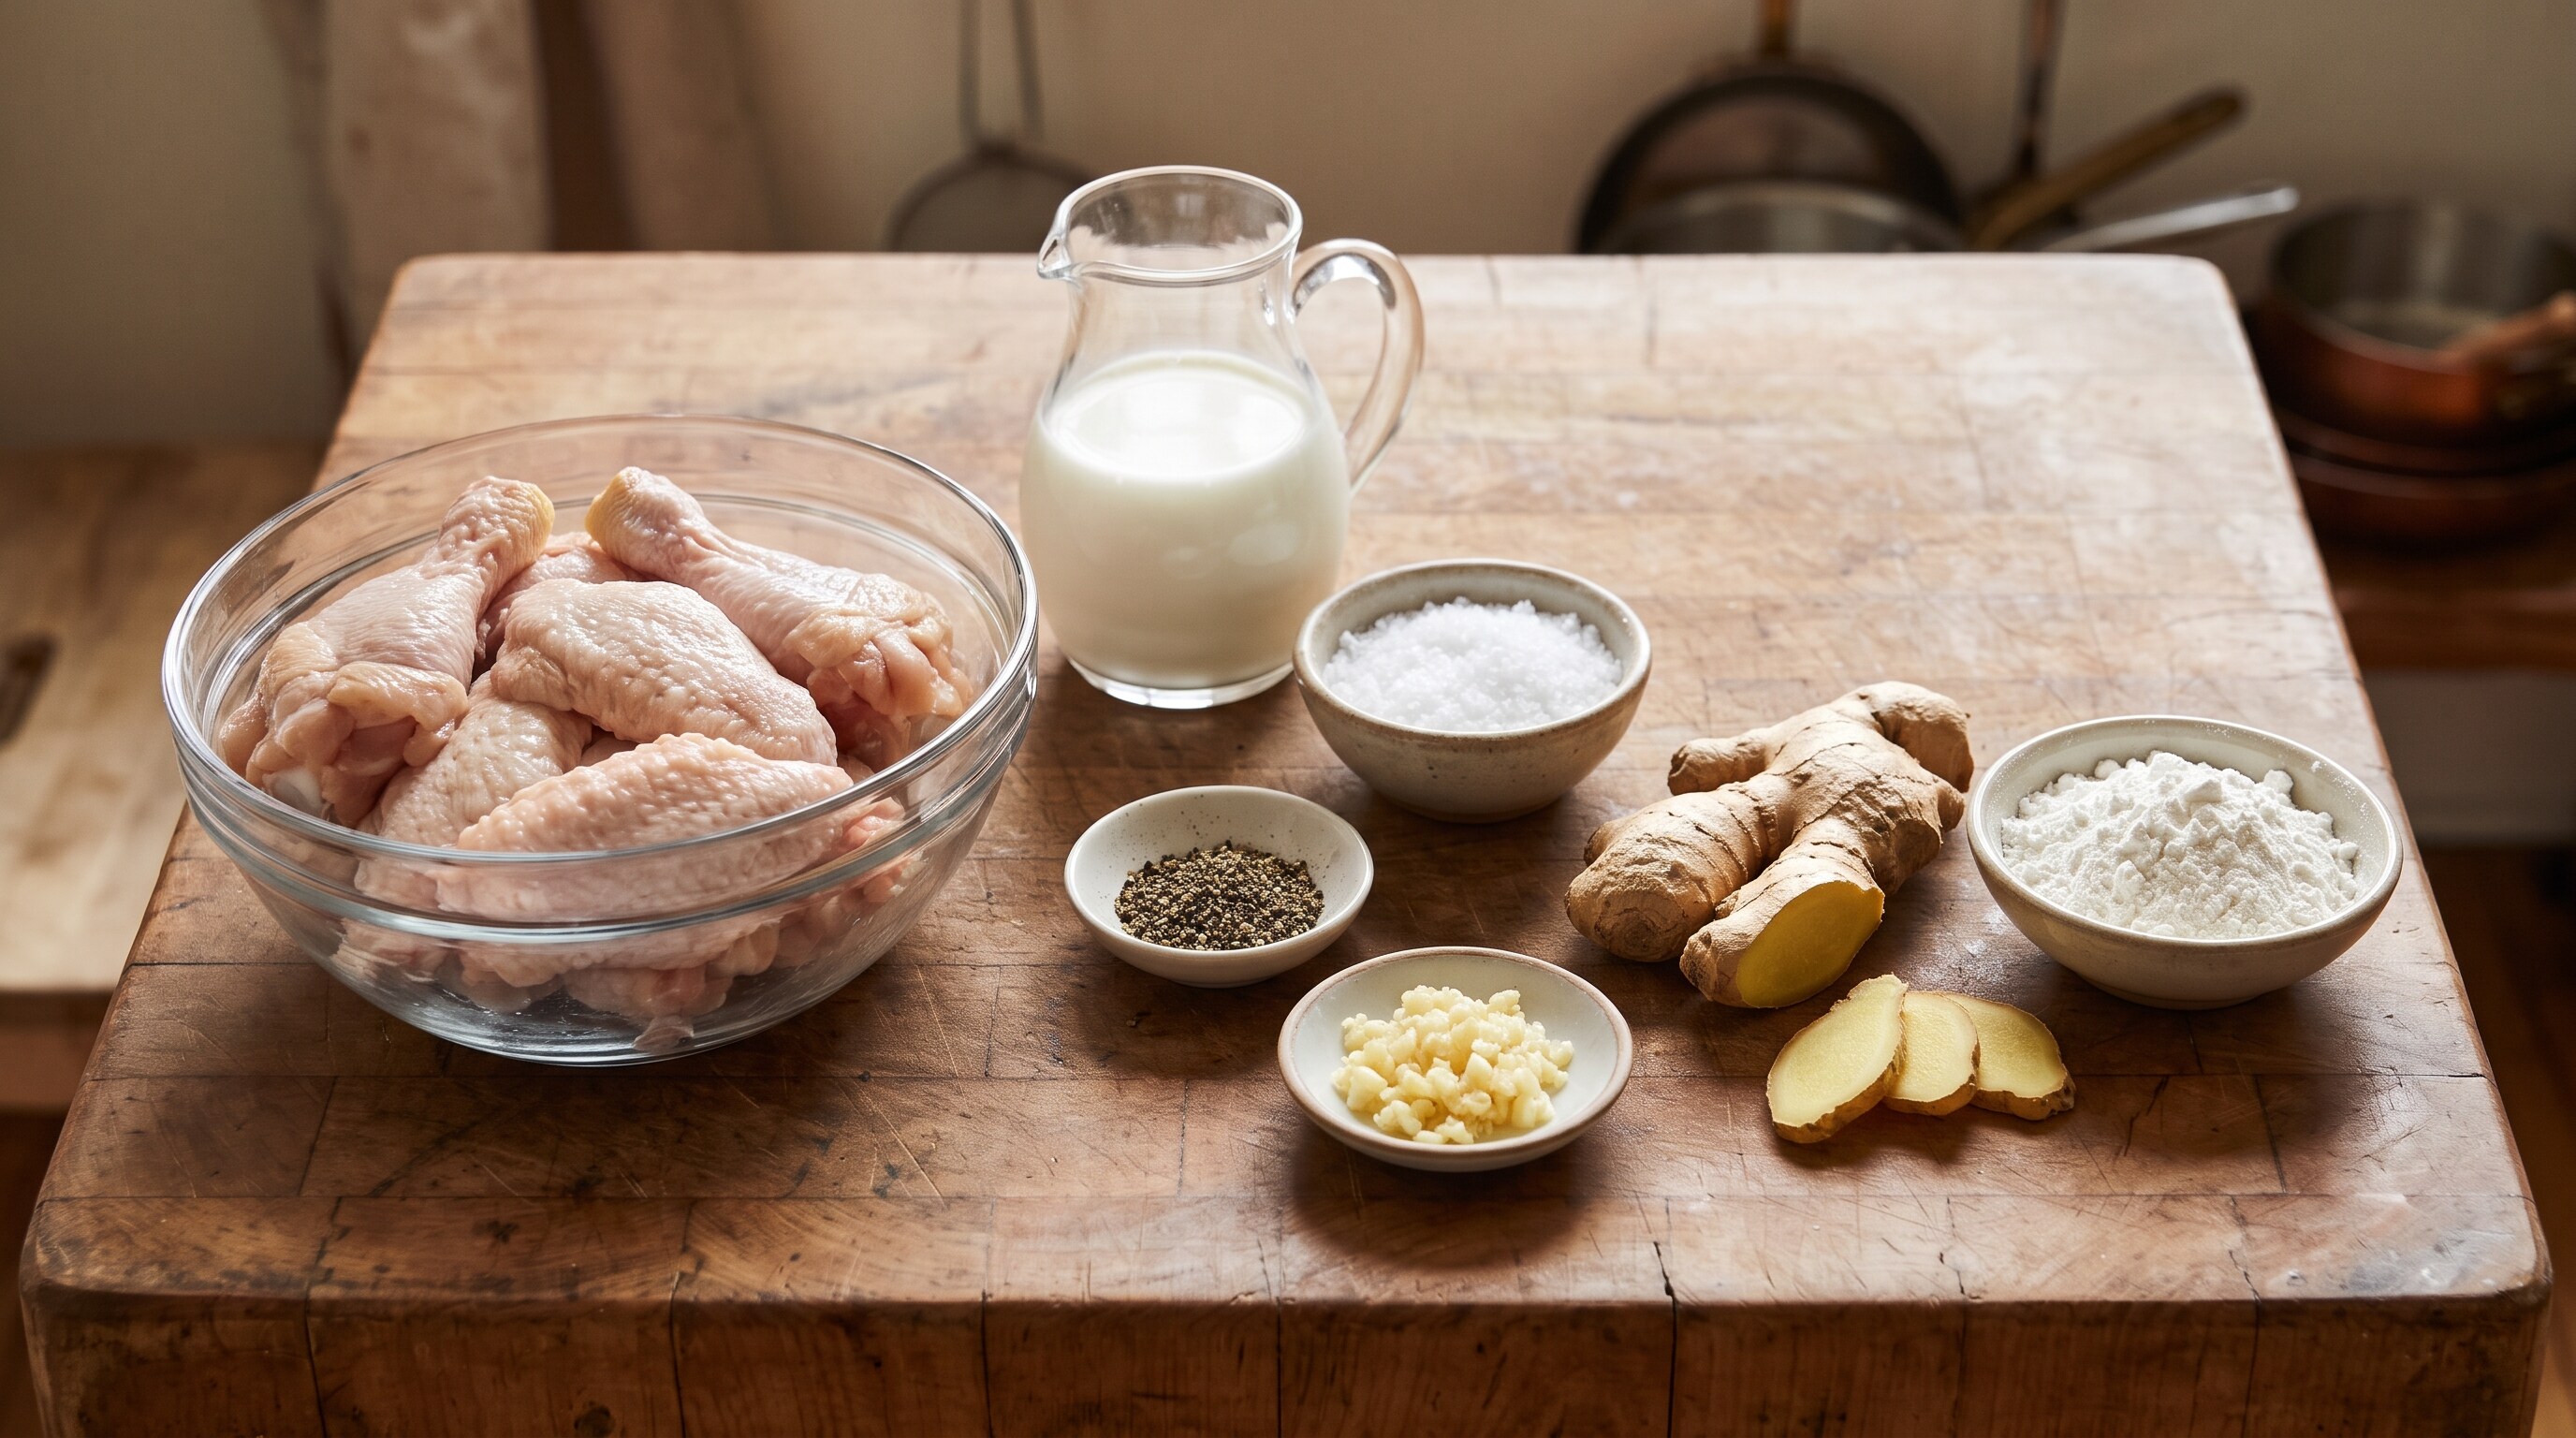
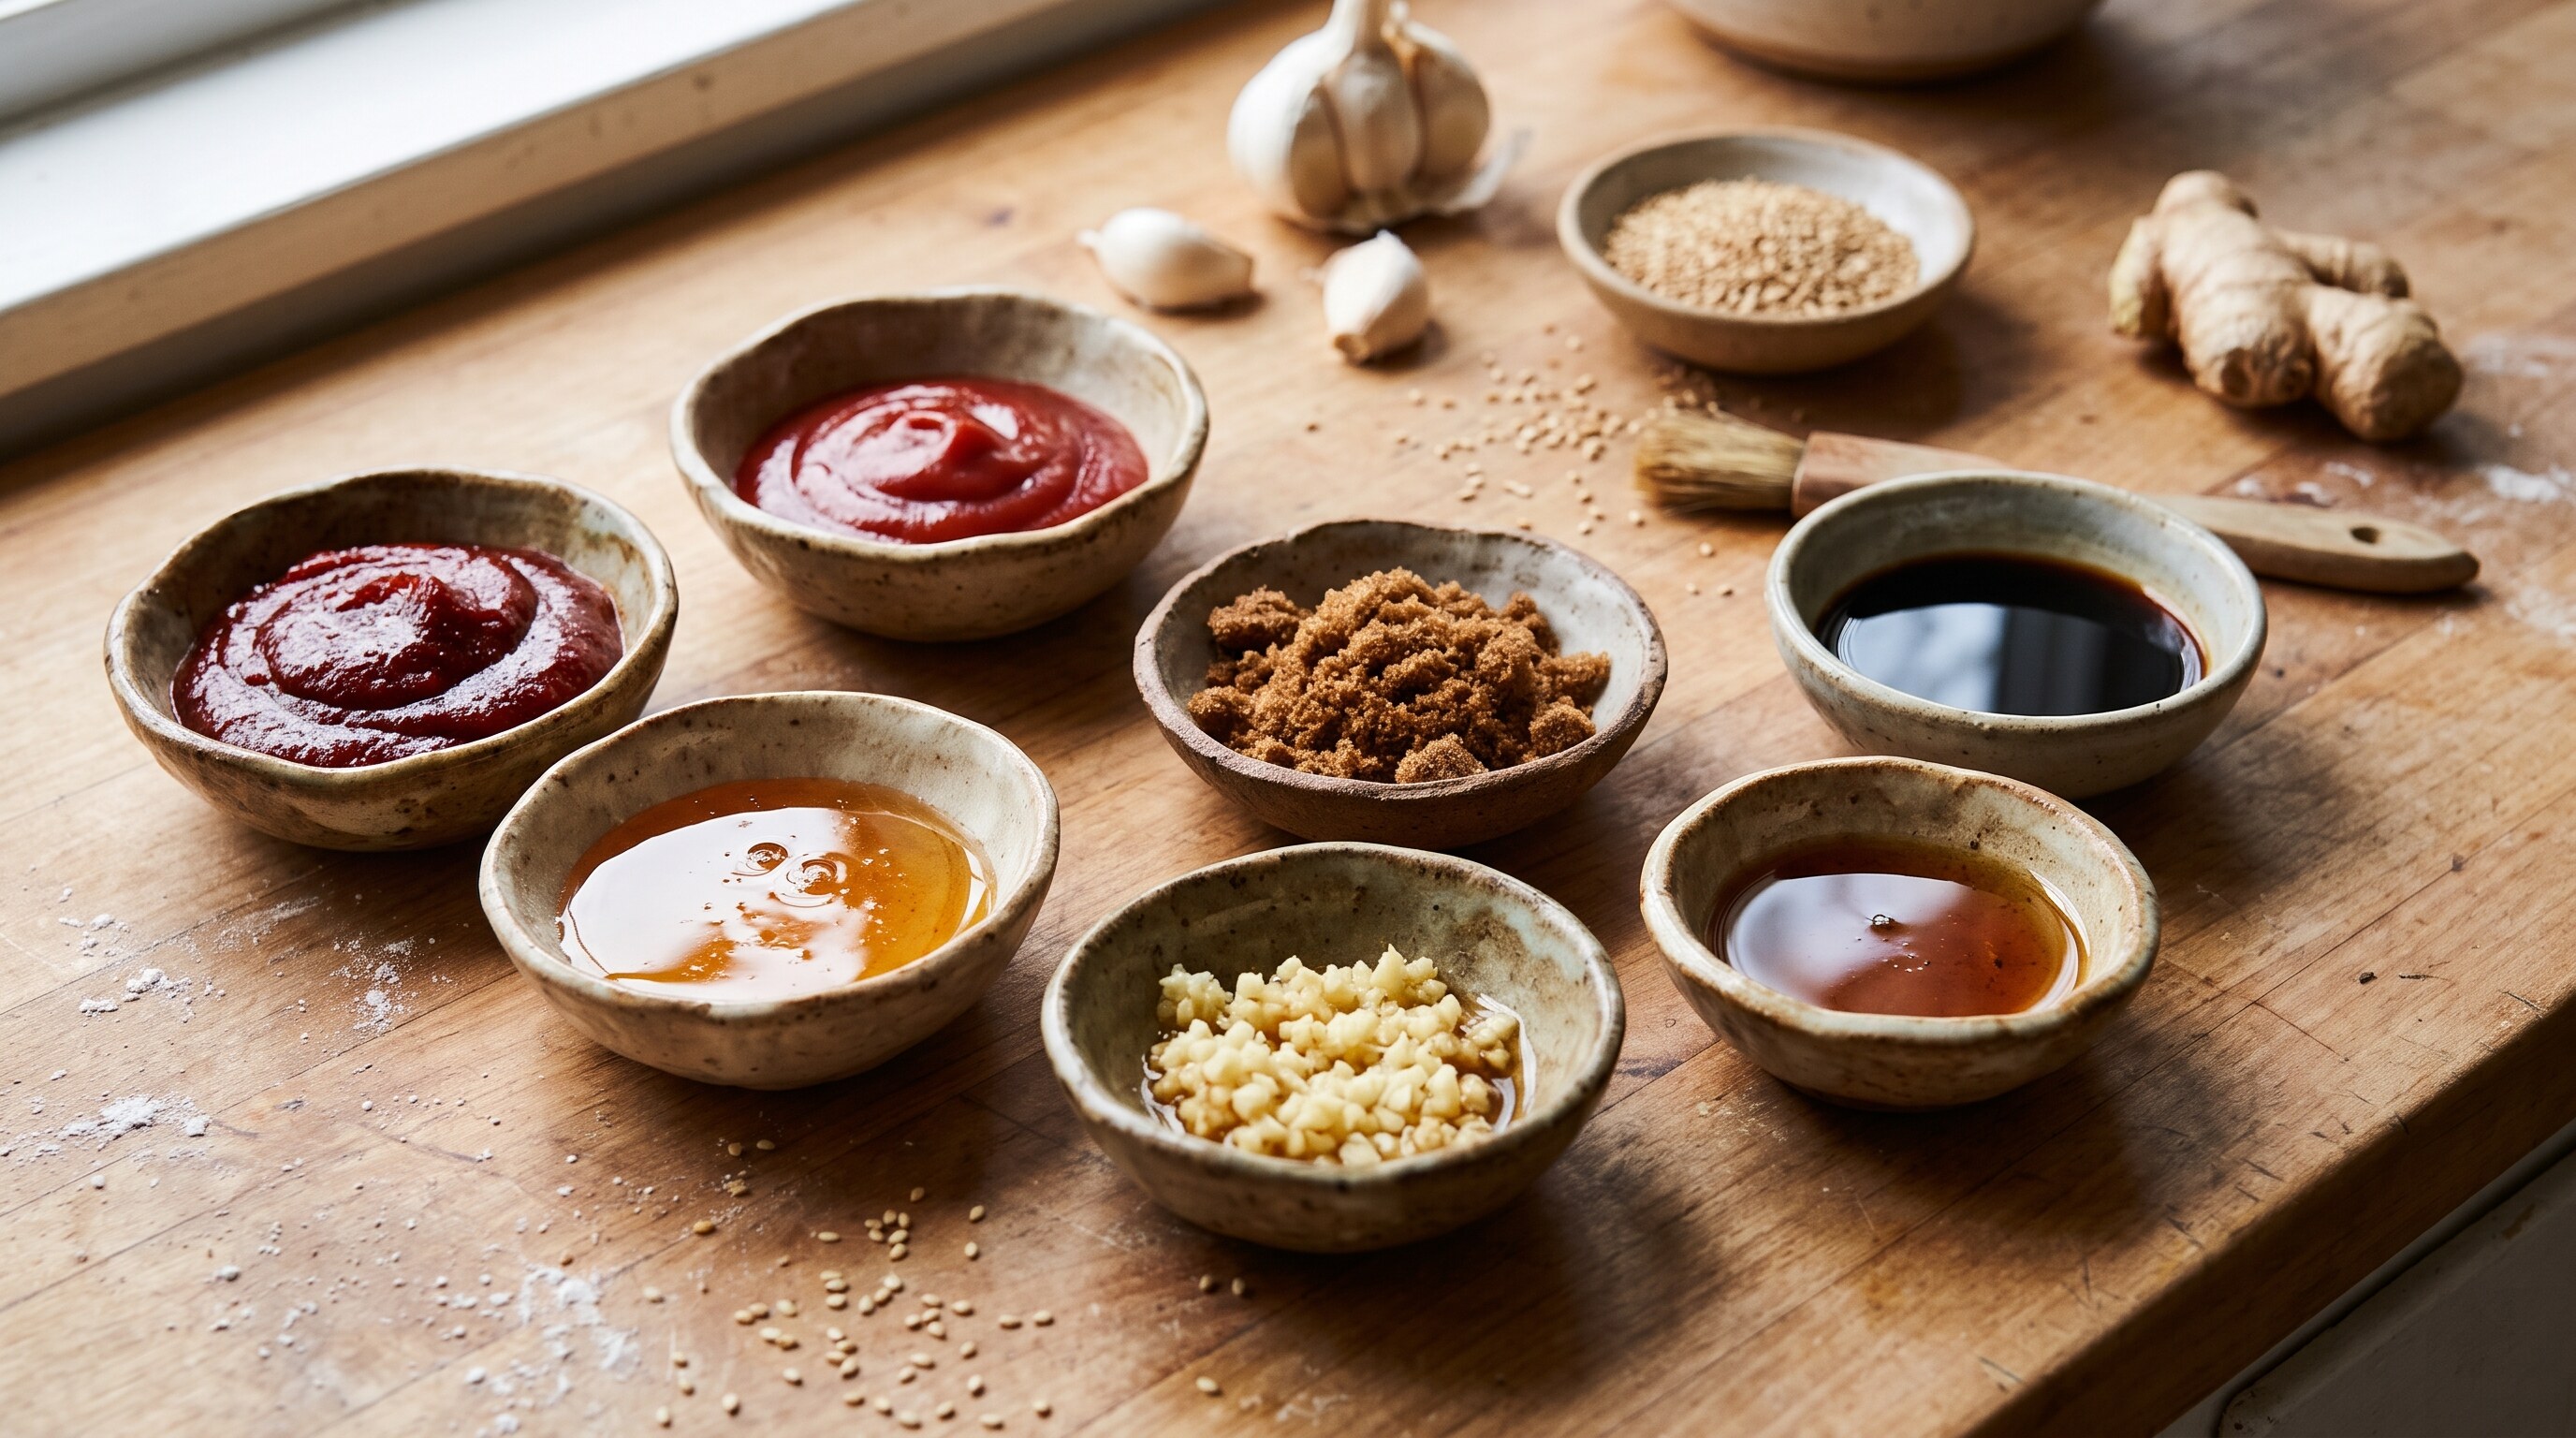
This recipe yields 3 to 4 generous servings (approximately 20 to 24 chicken pieces). Party wings (separated flats and drumettes) or small drumsticks deliver the best skin-to-meat ratio, while skin-on boneless chicken thighs cut into 4cm (1.5-inch) pieces are the fastest-cooking alternative.
| Category | Ingredients & Amounts (Metric & US) | Chef’s Notes & Supermarket Substitutions |
|---|---|---|
| Chicken Cuts | 1kg (2.2 lbs) bone-in chicken wings, drumsticks, or skin-on boneless thighs | Bone-in pieces stay juicier during double-frying; if using boneless thighs, cut into uniform 4cm (1.5-inch) chunks. |
| Milk Brine | 240ml (1 cup) whole milk or buttermilk | Lactic acid gently tenderizes muscle fibers and binds to sulfur volatiles, eliminating raw poultry odor. |
| Meat Aromatics | 1.5 tbsp (22ml) mirin + 1 tbsp (15g) minced garlic + 1 tsp (5g) grated ginger + 1 tsp (6g) fine sea salt + 1/2 tsp (1.5g) black pepper | Korean cooking wine (mirin) and fresh ginger season the meat right down to the bone. Dry white wine or apple cider vinegar + 1/2 tsp sugar can substitute for mirin. |
| Crisp Starch Dredge | 120g (1 cup) potato starch + 60g (1/2 cup) all-purpose flour + 1 tsp (4g) baking powder + 1/2 tsp (1.5g) garlic powder + 1/4 tsp (1g) sea salt | Potato starch (gamja-jeonbun, sold at H-Mart or Bob’s Red Mill in Western grocers) gives the lightest glass crunch. Cornstarch is a reliable 1:1 substitute. |
| Frying Medium | 1.5L (6 cups) neutral high-smoke-point oil | Canola, peanut, corn, or vegetable oil (smoke point above 200°C / 400°F). Never use extra-virgin olive oil or butter. |
| Yangnyeom Glaze Base | 3 tbsp (50g) gochujang + 3 tbsp (45ml) tomato ketchup + 3 tbsp (45ml) rice syrup or honey + 2 tbsp (25g) brown sugar | The classic 1:1:1 gochujang-ketchup-syrup ratio balances fermented chili heat with tangy-sweet nostalgia. Korean rice syrup (jocheong) or corn syrup (mulyeot) gives extra shine. |
| Glaze Aromatics | 2 tbsp (30ml) regular soy sauce + 1.5 tbsp (22g) finely minced fresh garlic + 1 tbsp (15ml) toasted sesame oil | Use freshly minced garlic rather than jarred garlic; its natural allicin caramelizes into the signature Korean chicken shop aroma. |
| Garnish & Crunch | 1 tbsp (10g) toasted white sesame seeds + 2 tbsp (20g) crushed roasted peanuts | Finely chopped roasted peanuts (or almonds) add essential nutty crunch on top of the sticky glaze. |
3. Step-by-Step Cooking Instructions
Total active cooking time is 25 minutes following the 30-minute refrigerator milk brine.
Step 1. Milk Brine & Aromatic Tenderization
Rinse 1kg (2.2 lbs) of chicken pieces under cold running water to remove any bone fragments, then pat them thoroughly dry with paper towels. If using whole drumsticks, make 2 shallow slashes along the thickest part of the meat so heat and seasoning penetrate evenly to the bone.
Place the chicken in a large mixing bowl and add 240ml (1 cup) whole milk, 1.5 tbsp (22ml) mirin, 1 tbsp (15g) finely minced garlic, 1 tsp (5g) grated fresh ginger, 1 tsp (6g) fine sea salt, and 1/2 tsp (1.5g) freshly ground black pepper. Massage for 60 seconds until every piece is coated, cover, and refrigerate for 30 minutes (or up to 4 hours).
Step 2. Dredge in the Crisp Starch Matrix
In a wide mixing bowl or rimmed baking tray, whisk together 120g (1 cup) potato starch, 60g (1/2 cup) all-purpose flour, 1 tsp (4g) baking powder, 1/2 tsp (1.5g) garlic powder, and 1/4 tsp (1g) sea salt until completely uniform.
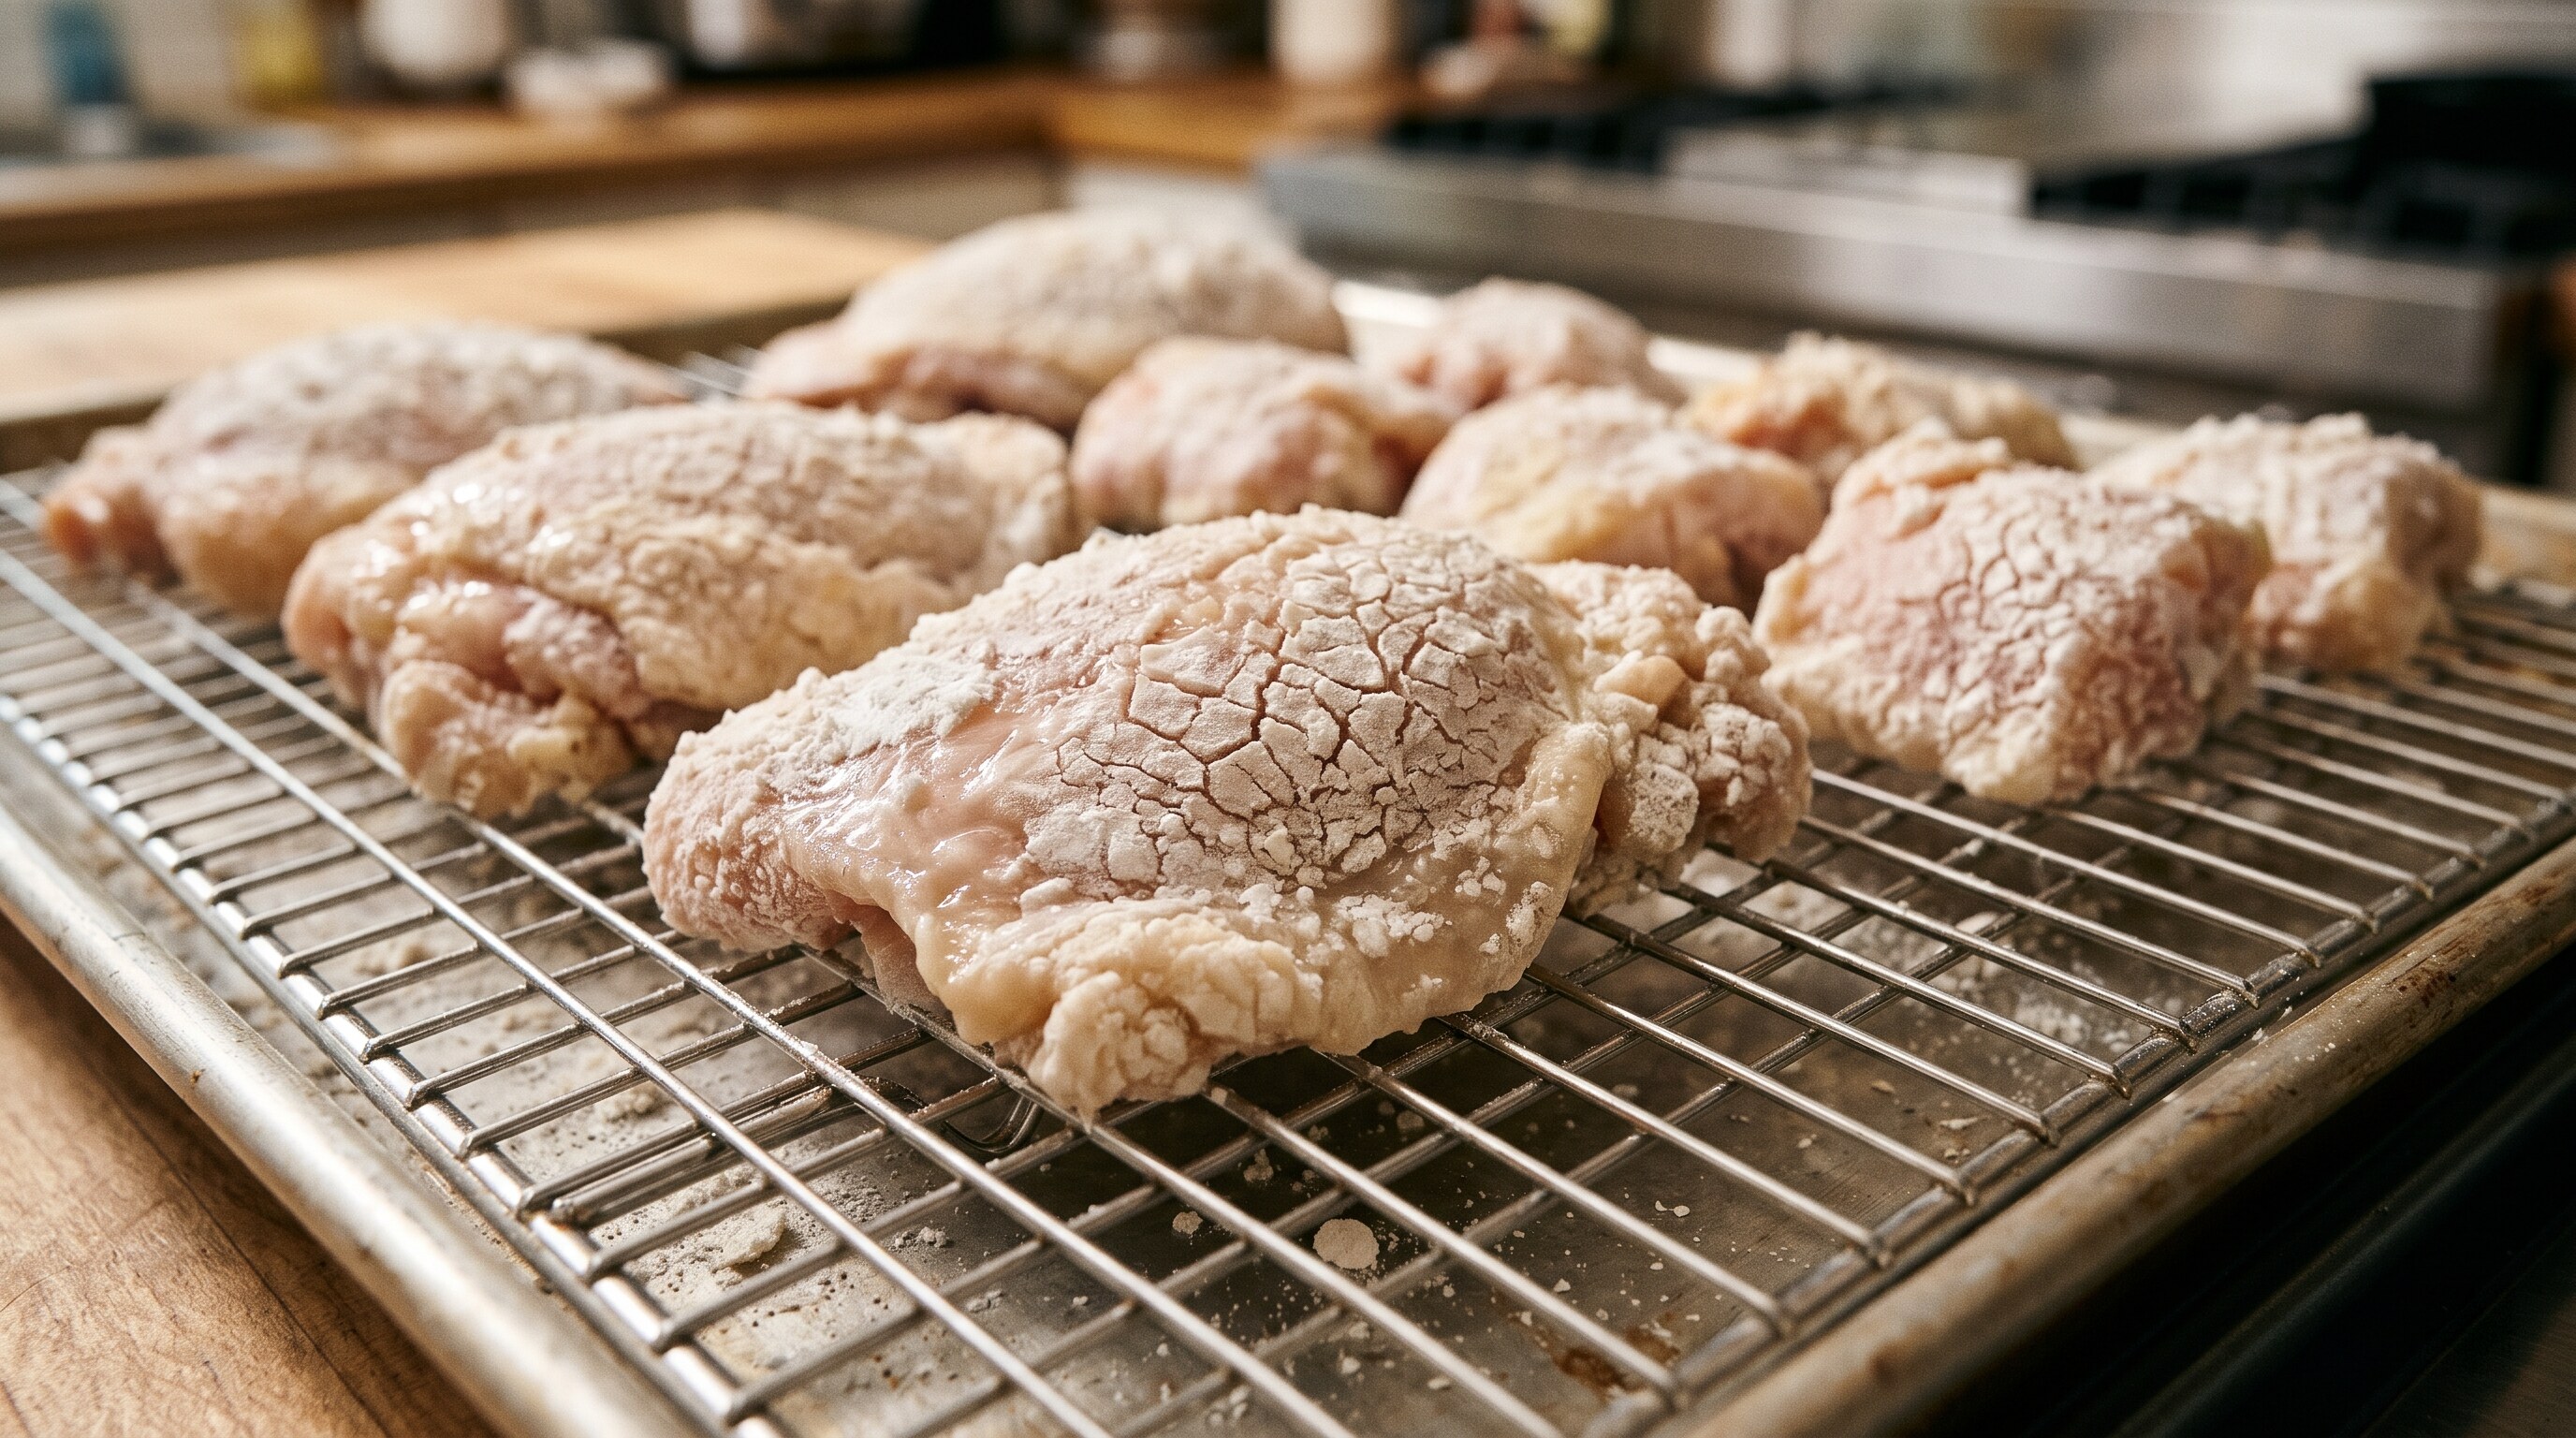
Lift the chicken pieces out of the milk brine one at a time, letting excess milk drip back into the bowl (do not rinse or wipe the chicken—the thin film of milk acts as the binder). Press each piece firmly into the dry starch mixture, rotating and squeezing gently so the powder adheres into every skin fold. Place the coated pieces on a wire rack for 5 minutes before frying so the starch hydrates slightly and locks onto the skin without dusting off into the oil.
Step 3. Two-Stage Double Frying (320°F / 160°C Par-Fry & 355°F / 180°C Crisp-Fry)
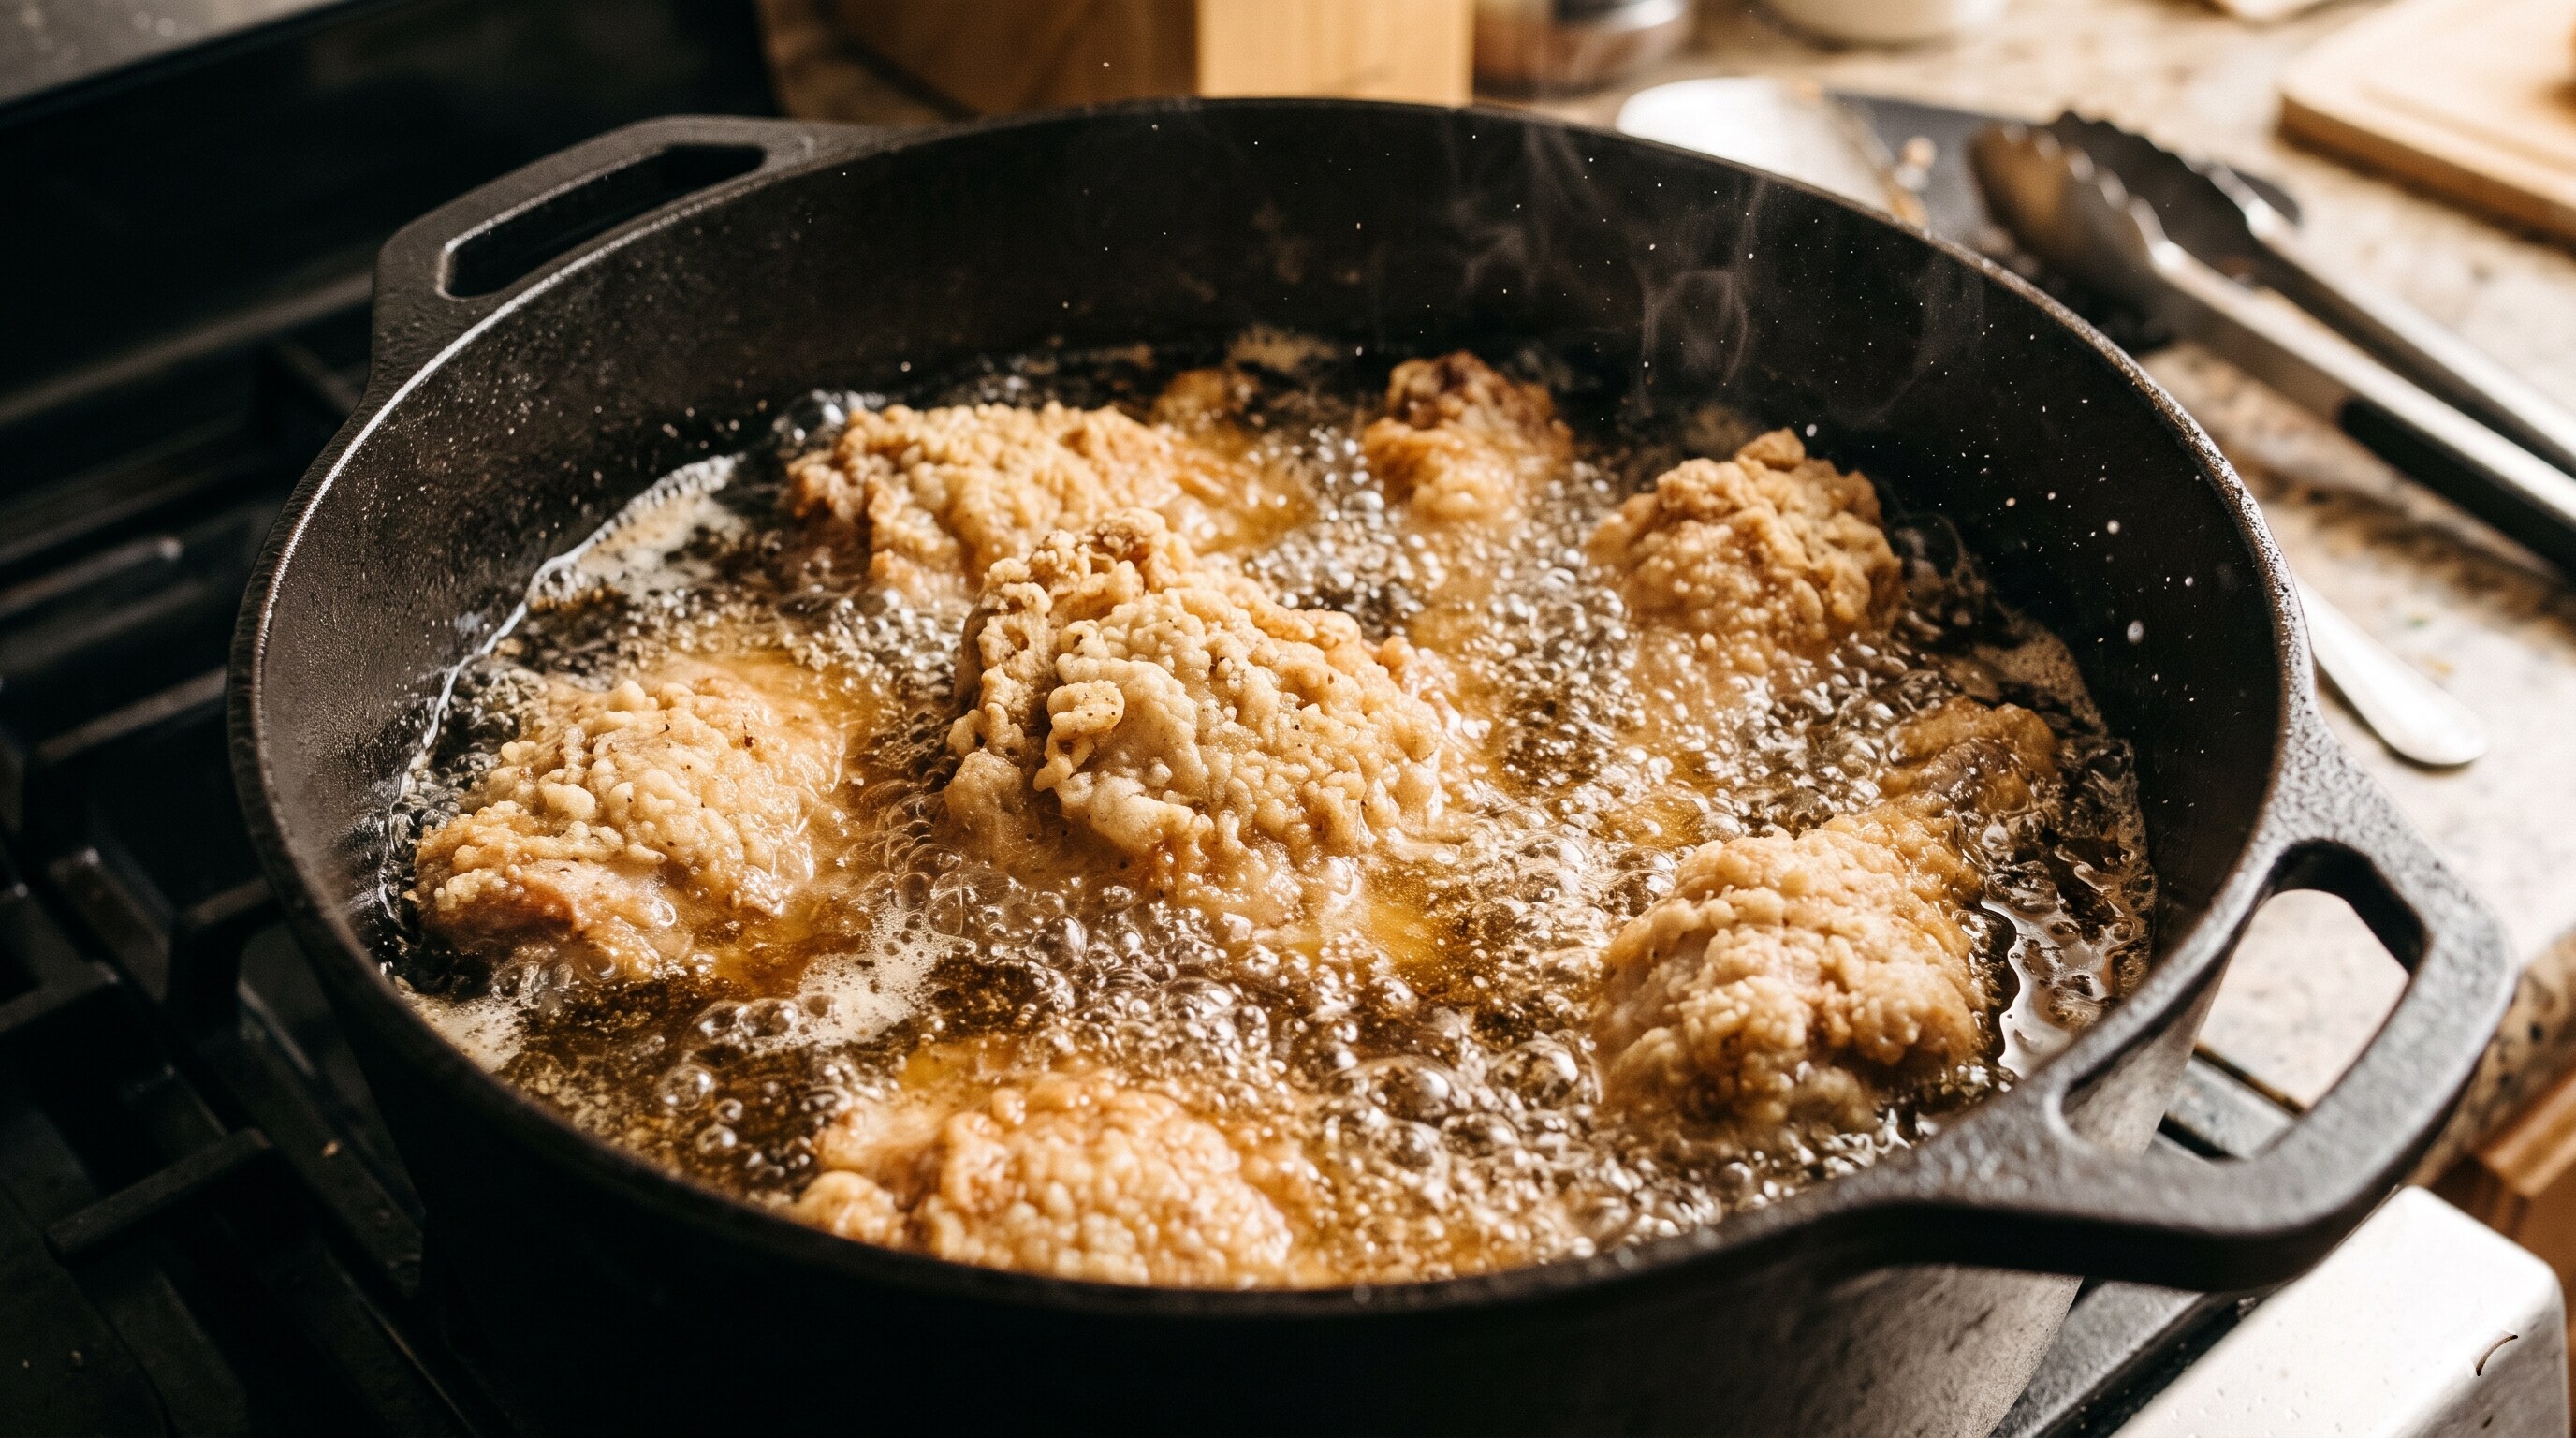
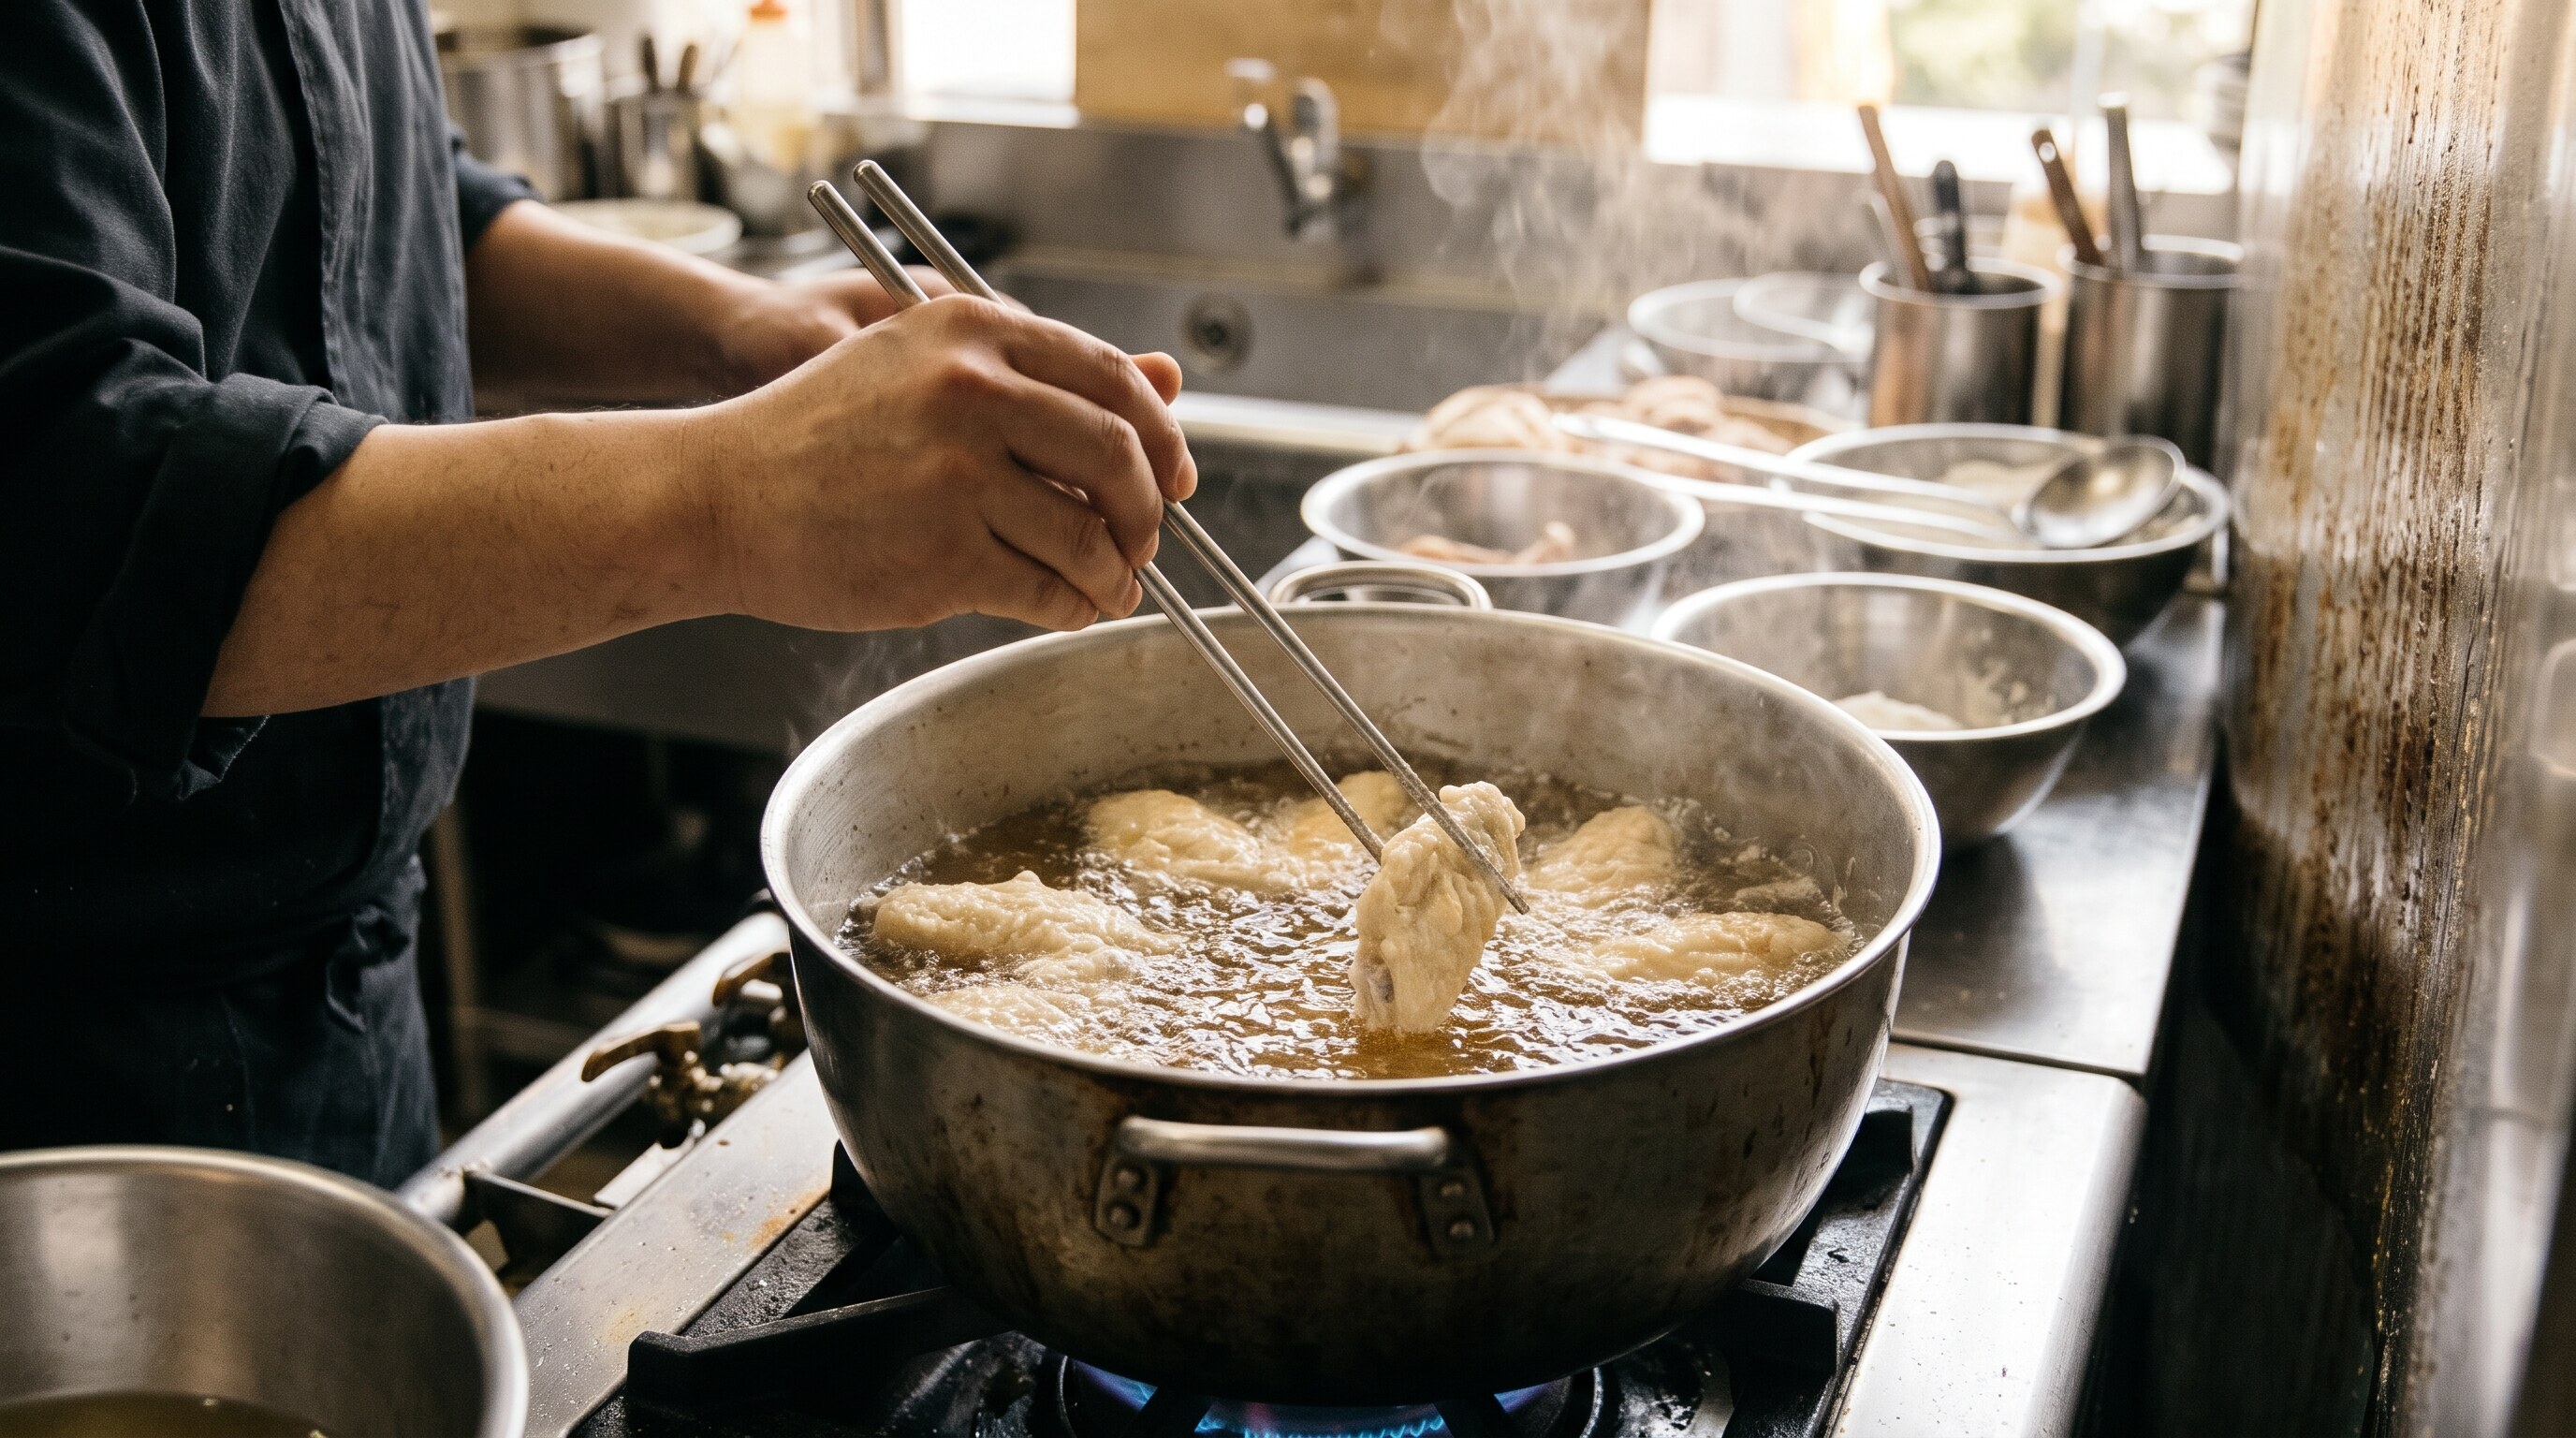
Pour 1.5L (6 cups) of neutral frying oil into a heavy Dutch oven or deep wok (ensuring the oil is at least 5cm / 2 inches deep, while leaving at least half the pot’s height free to prevent bubbling over). Attach a digital clip-on thermometer and heat over medium-high flame to 160°C (320°F).
- Stage 1 (Par-Fry — 8 to 10 mins): Working in 2 batches so you never overcrowd the pot, gently slide the chicken into the oil. Fry at 160°C (320°F) for 8 to 10 minutes (6 to 7 minutes for boneless thigh chunks), turning occasionally with metal tongs or long chopsticks. The crust should look pale ivory-blonde with zero dark browning. Transfer to an elevated wire cooling rack and let rest for 3 to 4 minutes while steam escapes from the core.
- Stage 2 (Crisp-Fry — 2 to 3 mins): Increase heat until the oil reaches 180°C (355°F). Return the par-fried chicken to the hot oil and fry vigorously for 2 to 3 minutes, stirring continuously. The pale shell will dehydrate into a deep golden-amber crust that feels feather-light and sounds hollow when tapped with tongs. Transfer back to the wire rack to drain for 60 seconds.
Step 4. Simmer Golden Yangnyeom Glaze & Toss (Half & Half “Ban-Ban”)
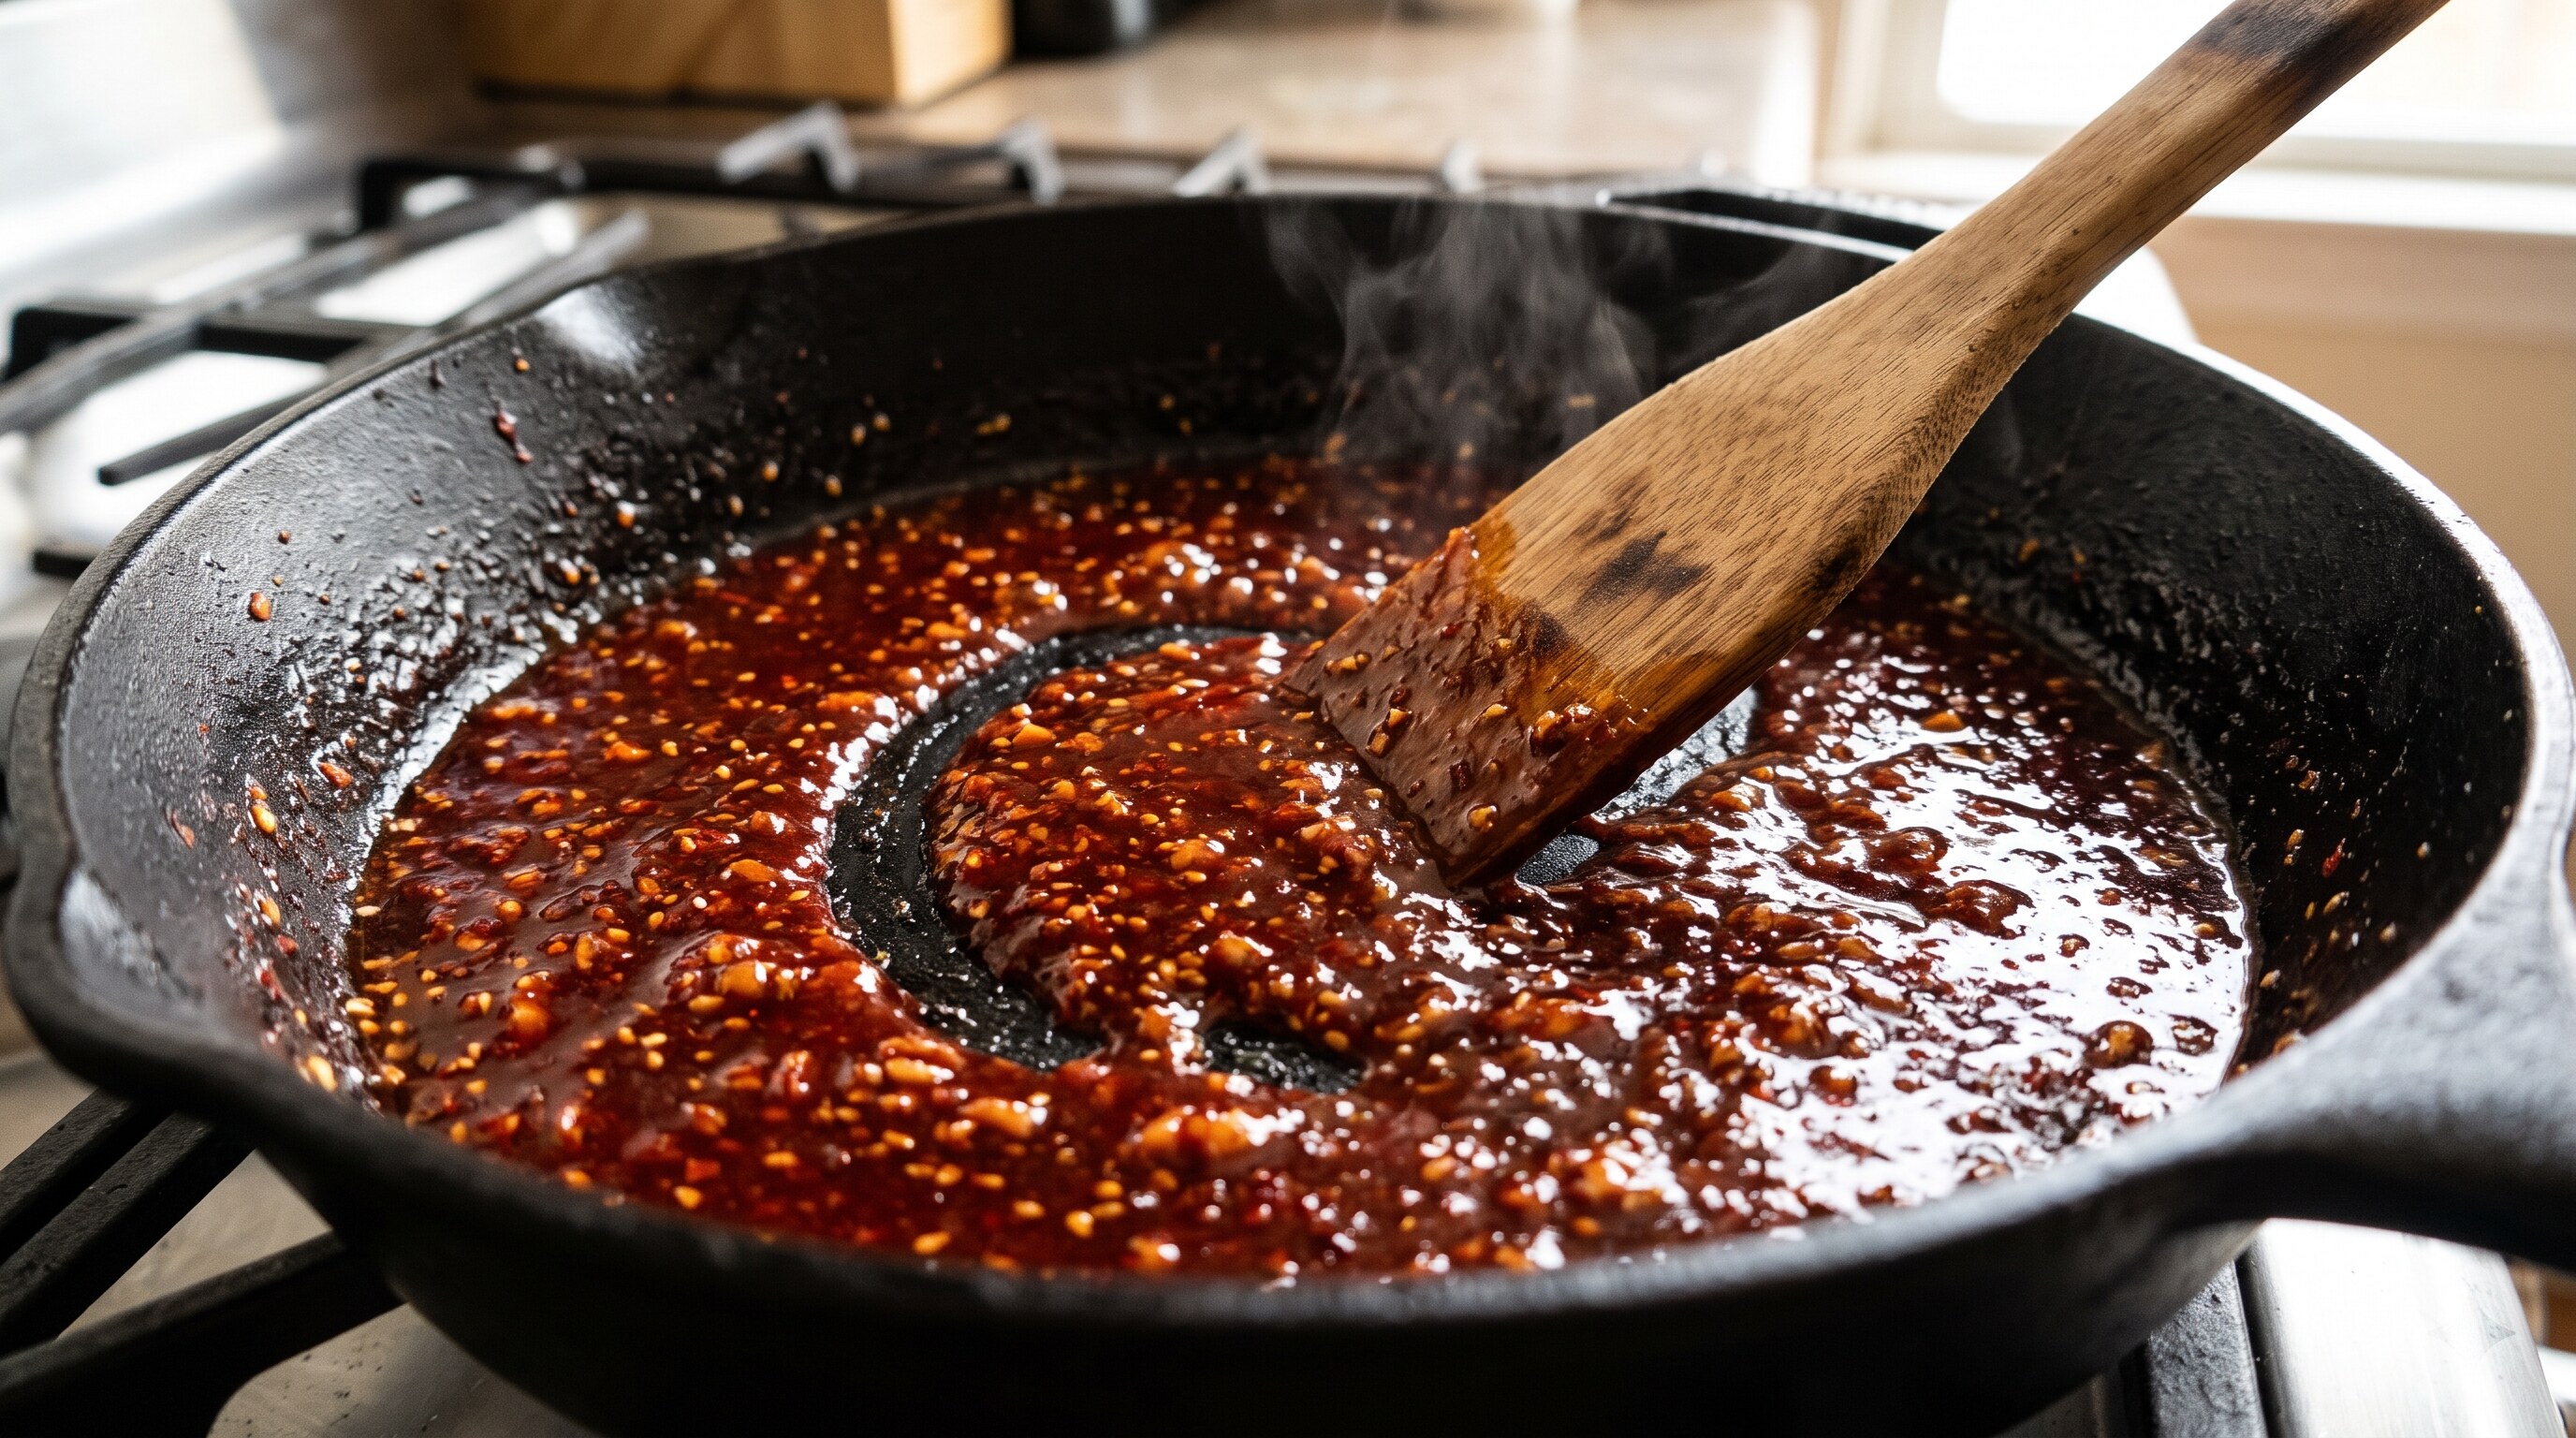
While the chicken rests between fries, combine 3 tbsp (50g) gochujang, 3 tbsp (45ml) ketchup, 3 tbsp (45ml) rice syrup or honey, 2 tbsp (25g) brown sugar, 2 tbsp (30ml) soy sauce, 1.5 tbsp (22g) minced garlic, and 1 tbsp (15ml) toasted sesame oil in a wide skillet or wok over medium-low heat.
Stir constantly as the mixture comes to a gentle bubble. Simmer for 90 seconds to 2 minutes until the sugar melts, the raw garlicbite mellows into a sweet aroma, and the sauce thickens into a glossy syrup that coats the back of a spoon. Turn off the heat immediately.
For the ultimate Korean Ban-Ban (반반 — Half & Half) presentation:
- Arrange half of the double-fried chicken directly onto a serving platter as Original Crispy (season with an optional pinch of flaky salt and cracked pepper).
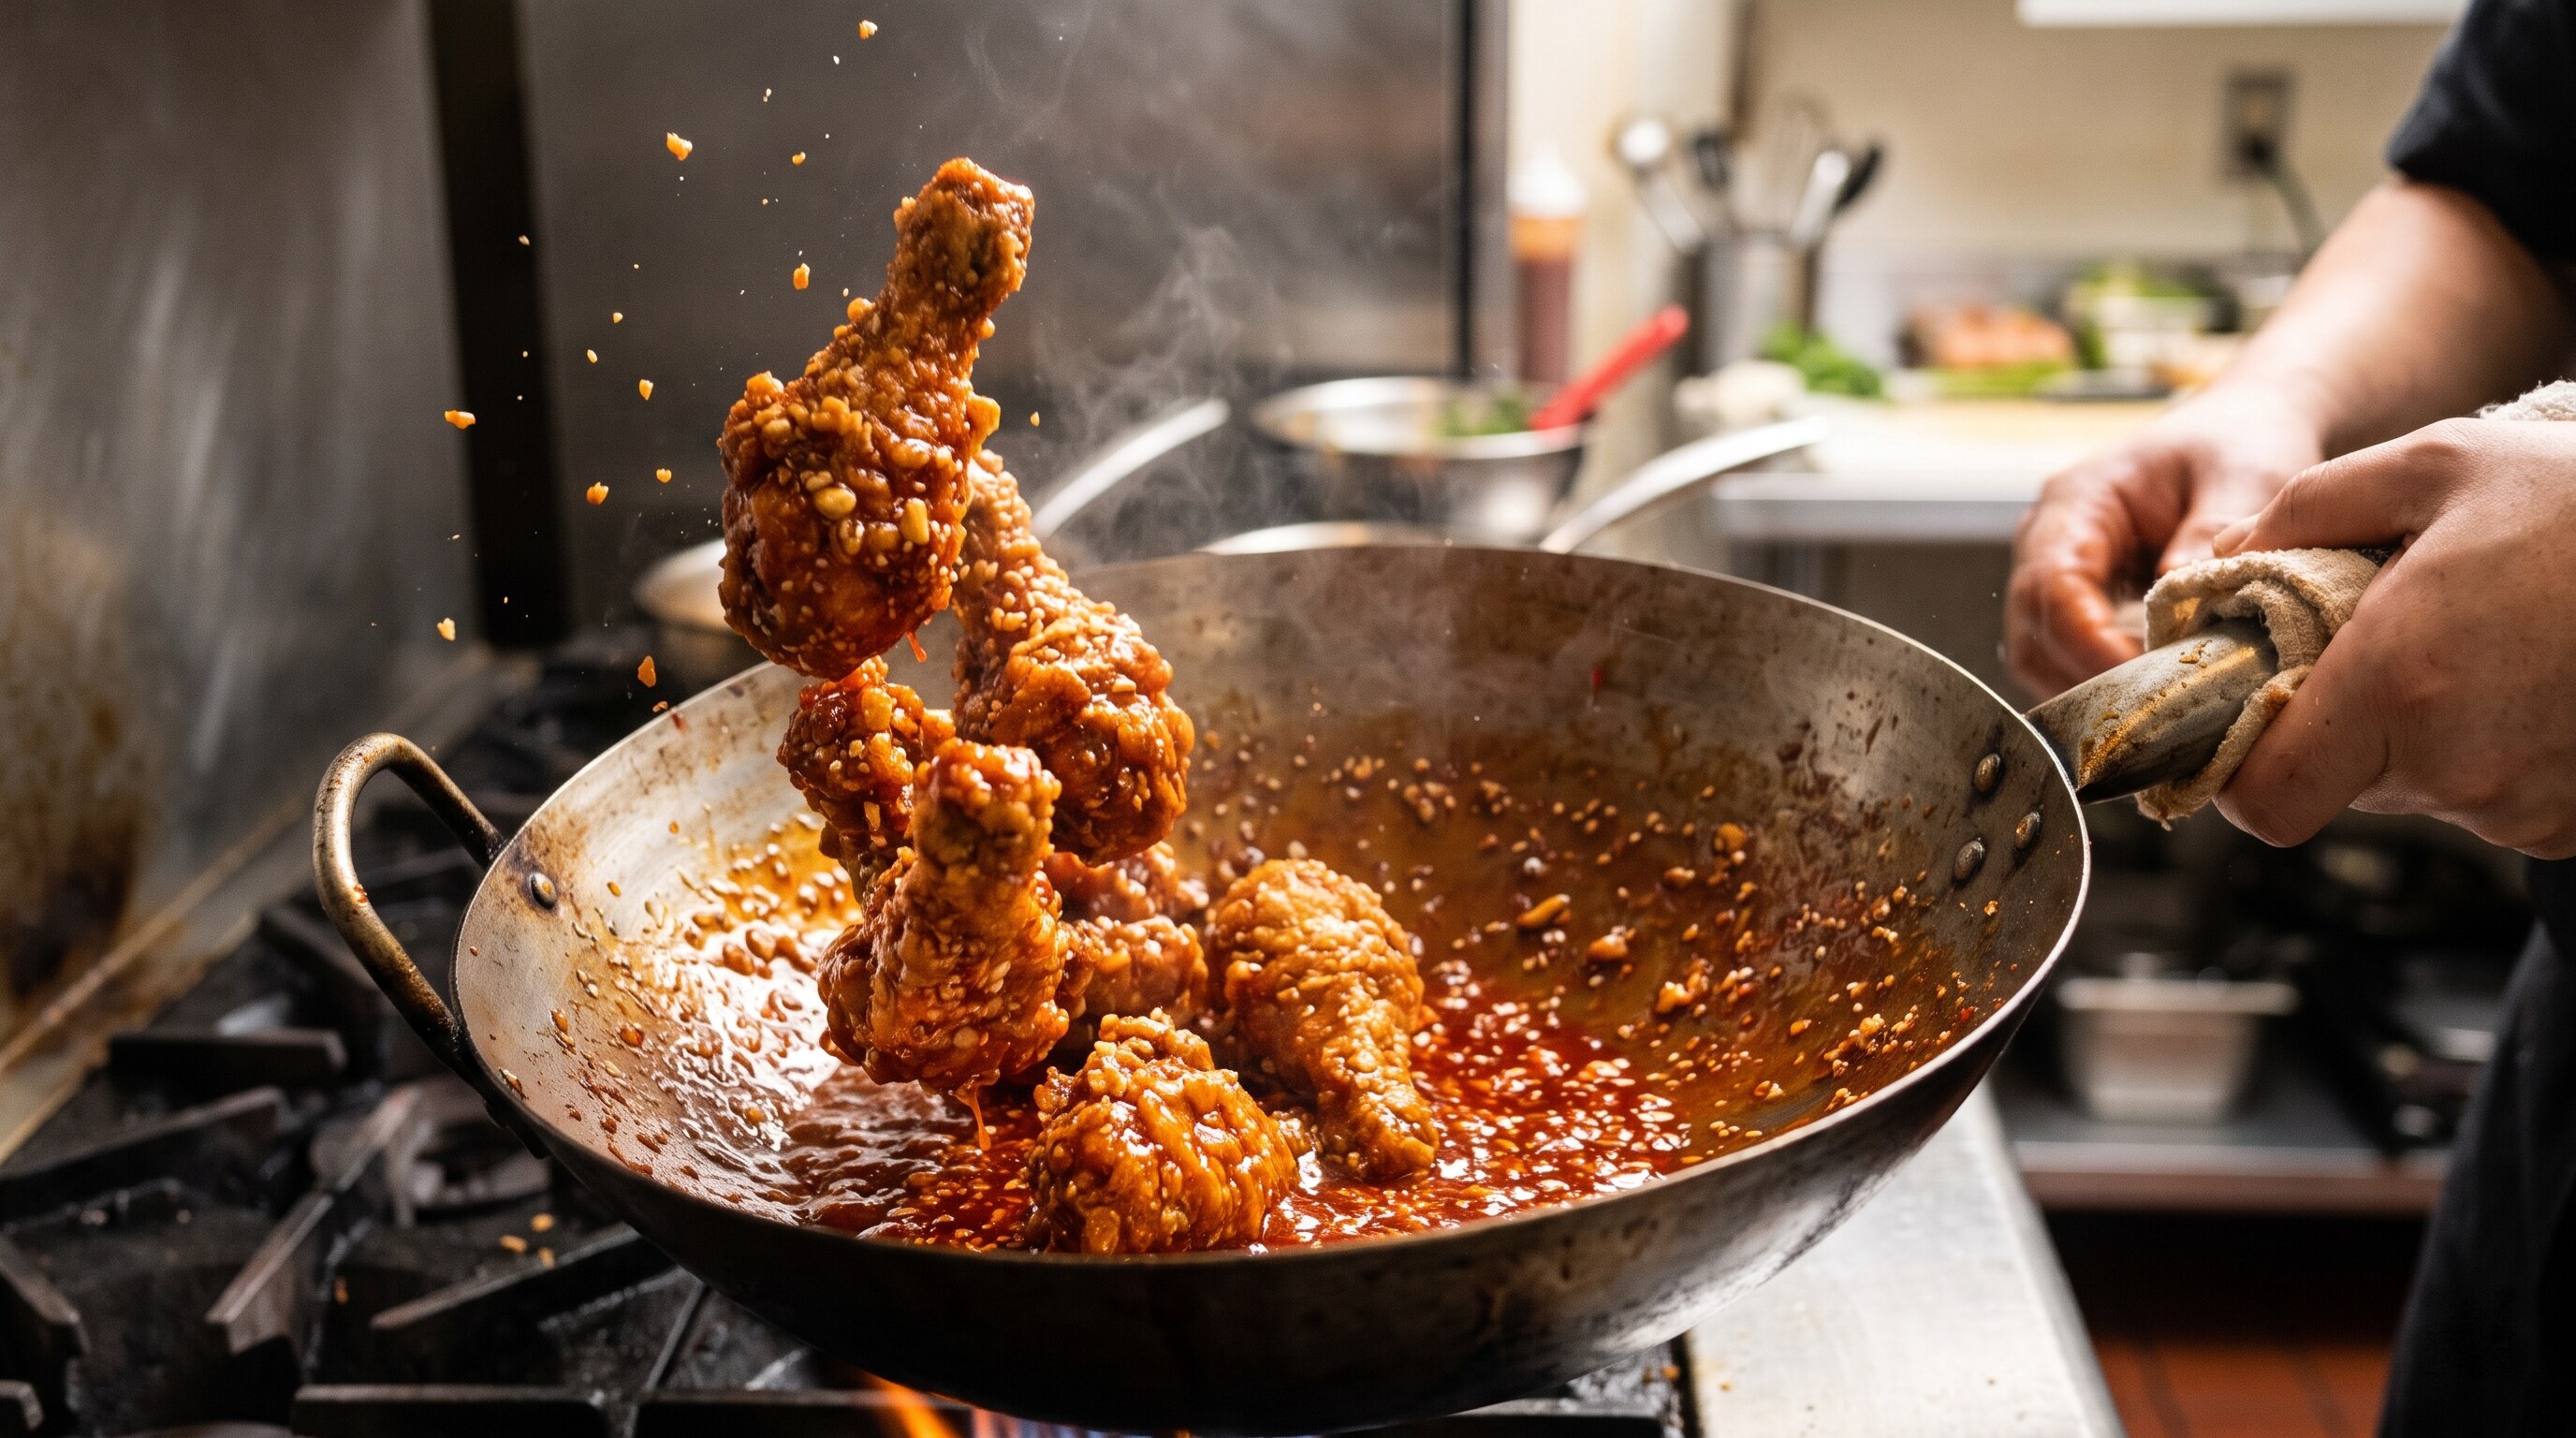
- Add the remaining half into the skillet with the warm glaze off the heat. Toss rapidly with a silicone spatula for 20 to 30 seconds until every piece is lacquered in ruby-red sauce.
- Pile the glazed chicken beside the original crispy half, and shower the Yangnyeom pieces with 1 tbsp toasted sesame seeds and 2 tbsp crushed roasted peanuts.
4. Pro Chef Tips to Elevate Your Dish
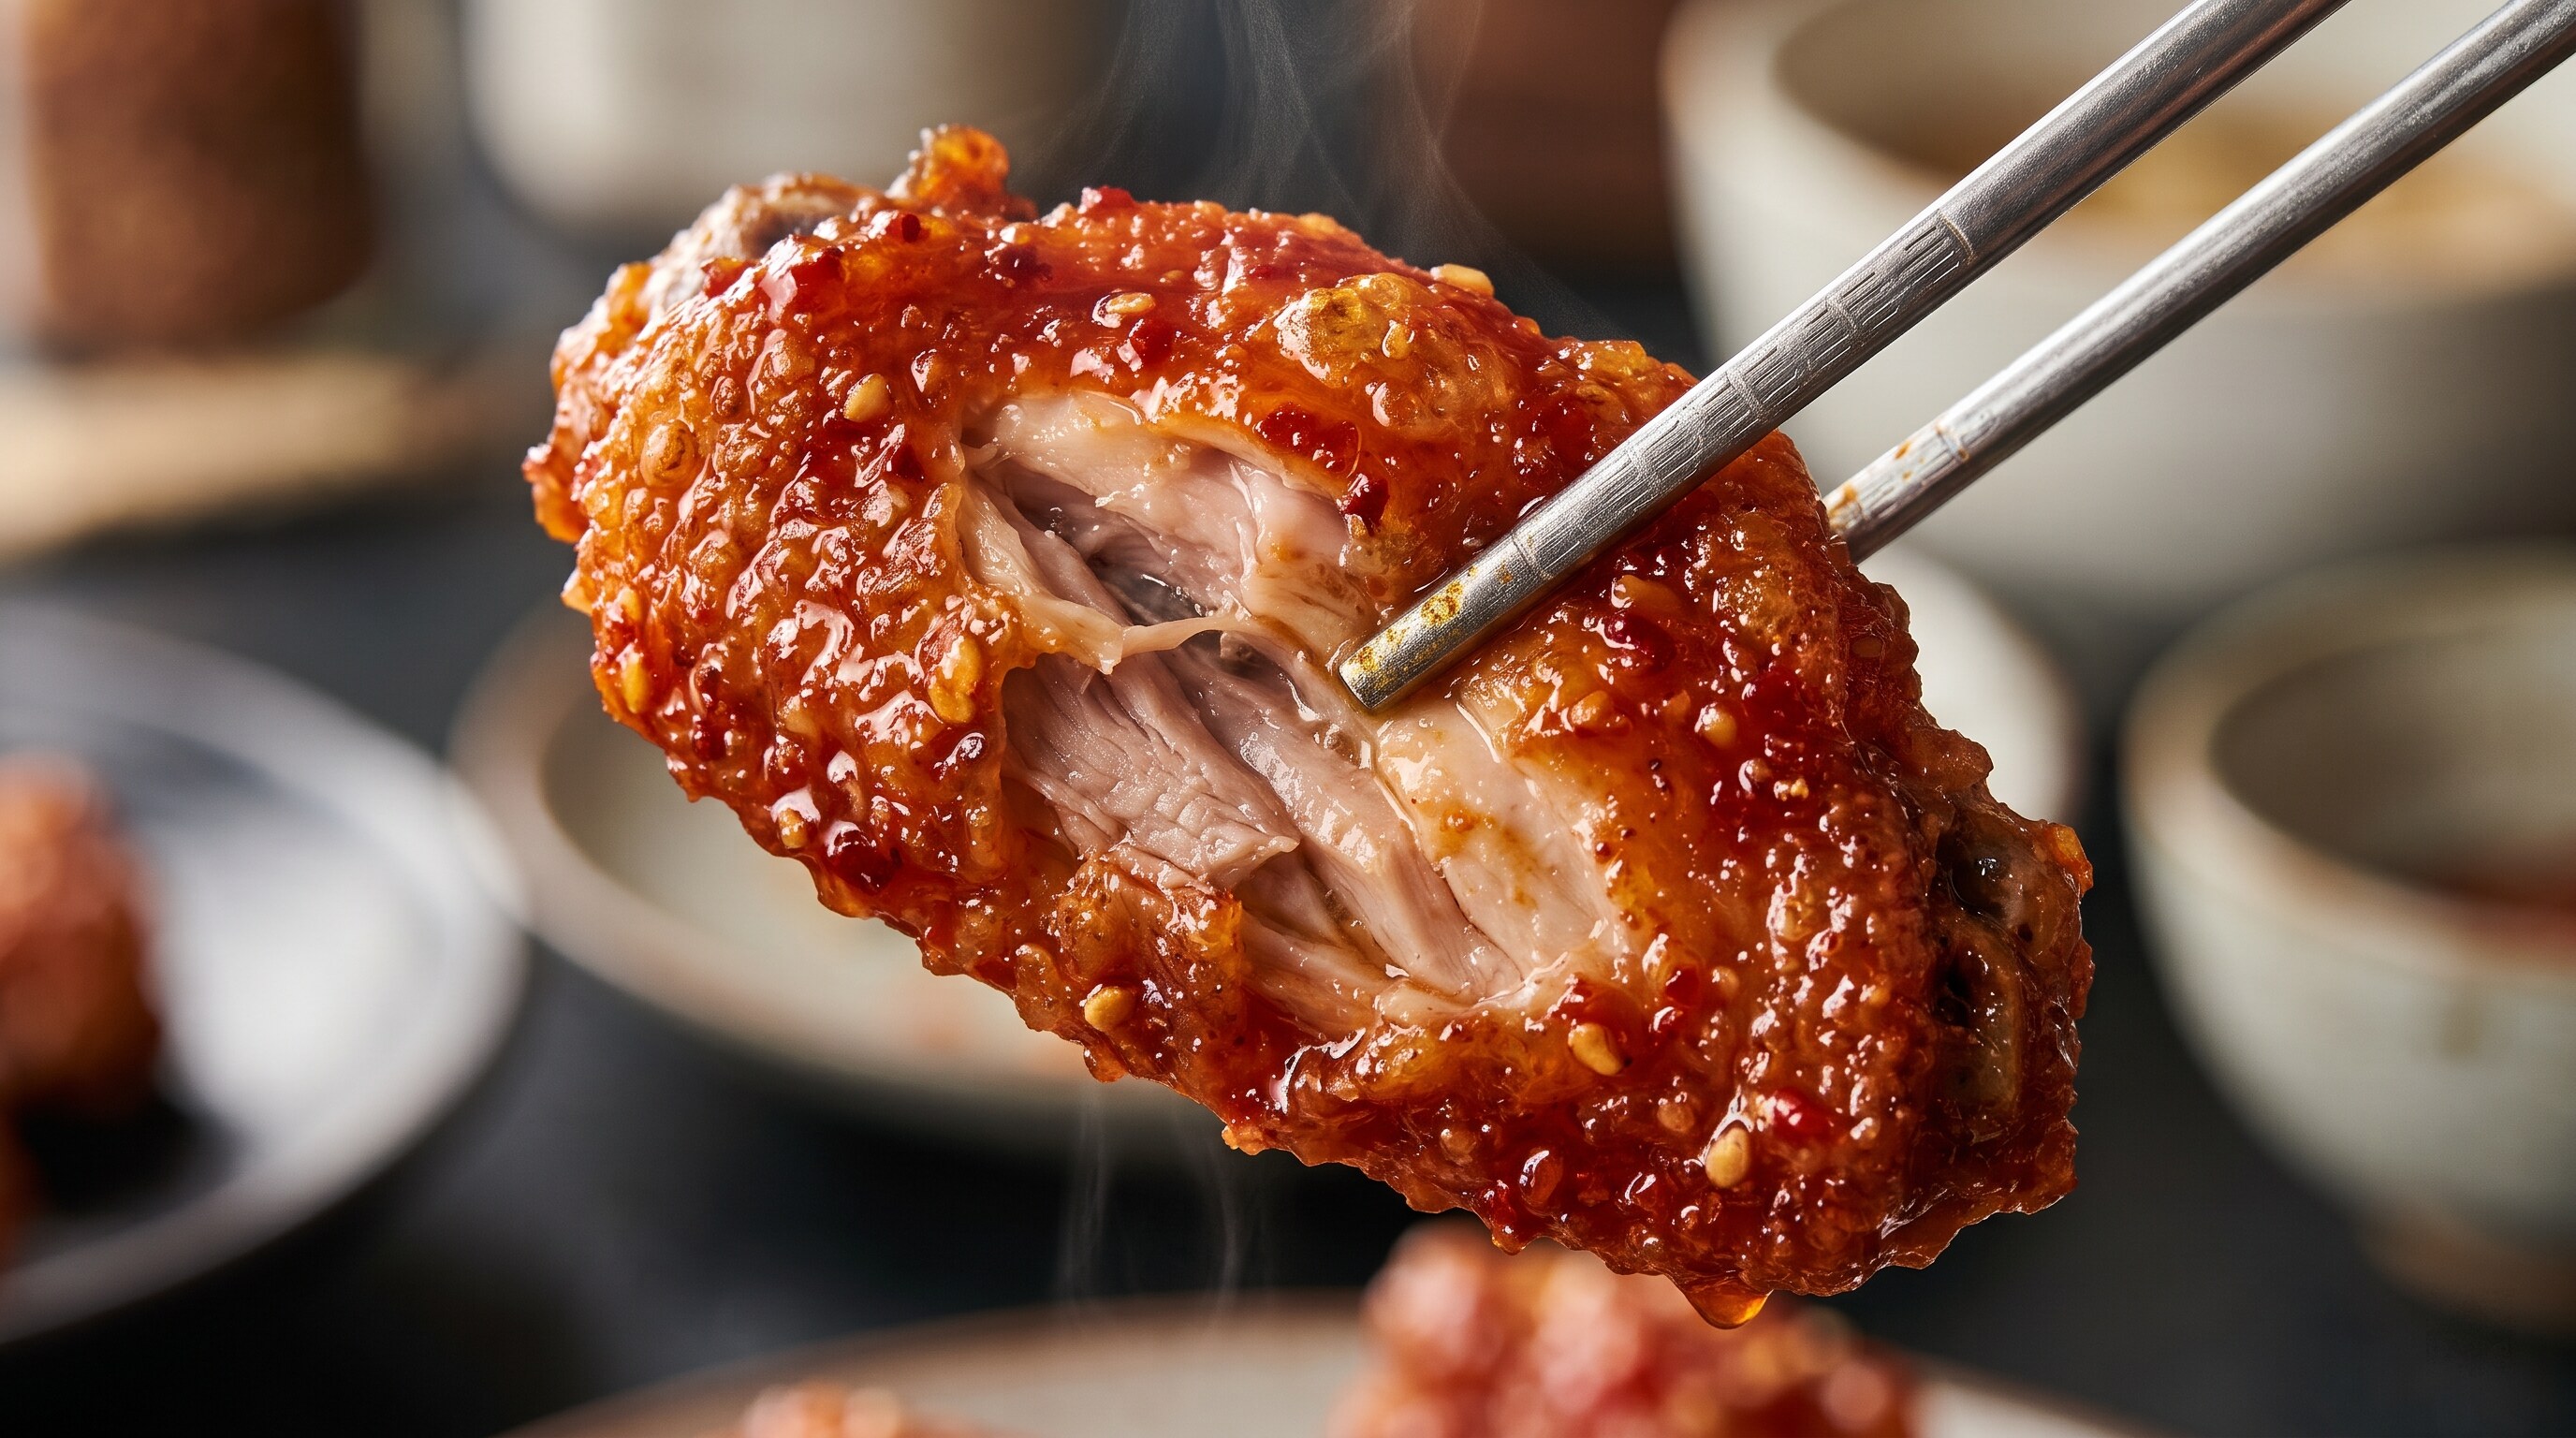
- The Ice-Water (or Vodka) Mist Trick for Extra Craggy Flakes: Want those dramatic, jagged crispy scales you see at famous Korean franchises? Before dredging the chicken in Step 2, flick 1.5 tbsp (22ml) of ice-cold water—or plain vodka—across the dry starch bowl and toss lightly with your fingertips to create tiny, pea-sized damp starch pebbles. When pressed onto the chicken skin, those pebbles puff into ultra-crunchy flakes in the fryer (especially with vodka, since alcohol evaporates faster than water at 78°C / 173°F).
- Always Rest on an Elevated Wire Rack, Never on Paper Towels: Setting hot fried chicken onto paper towels traps escaping steam underneath the bottom pieces, condensing into water droplets that ruin the bottom crust in under 90 seconds. Always rest both par-fried and finished chicken on an elevated wire rack set over a sheet pan so air circulates 360 degrees.
- Toss Off the Heat, Never Simmer the Chicken in the Sauce: Boiling fried chicken inside a bubbling pan of sauce forces liquid into the starch pores. Always finish reducing the glaze first, kill the heat, and toss the piping-hot chicken for just 20 seconds.
- Maintain Oil Temperature with Batch Discipline: Dropping 1kg (2.2 lbs) of cold chicken into oil all at once will crash the oil temperature below 130°C (265°F), causing the starch to drink oil before it can gelatinize. Frying in 2 batches keeps the thermal recovery fast and the crust completely grease-free.
5. Frequently Asked Questions (FAQ)
Q1. Can I make this in an air fryer or oven instead of deep frying?
While you can air fry at 190°C (375°F) for 20–25 minutes flipping halfway, it will lack the signature ultra-thin, glass-brittle micro-bubble crust that deep frying in starch produces. For best results without a deep fryer, spray the starch-dredged chicken generously with neutral cooking oil until no dry white patches remain before air frying.
Q2. Why is potato starch preferred over 100% all-purpose flour?
All-purpose flour contains gluten-forming proteins (glutenin and gliadin), which absorb moisture from the meat and turn chewy, heavy, and soggy within minutes under sauce. Potato starch is 100% pure starch with zero gluten, frying into a wafer-thin, translucent, glass-like shell that stays crunchy for hours even when coated in glaze.
Q3. How do I reheat leftover Korean fried chicken so it regains its crunch?
Never reheat in a microwave, which traps steam and turns the starch crust rubbery. Place leftover chicken in a preheated air fryer or convection oven at 180°C (355°F) for 5 to 7 minutes. Trapped moisture will evaporate and the rendered fat will crisp the starch shell right back to life.
6. Serving Suggestions, Chimaek Culture & Bonus Pickled Radish Recipe
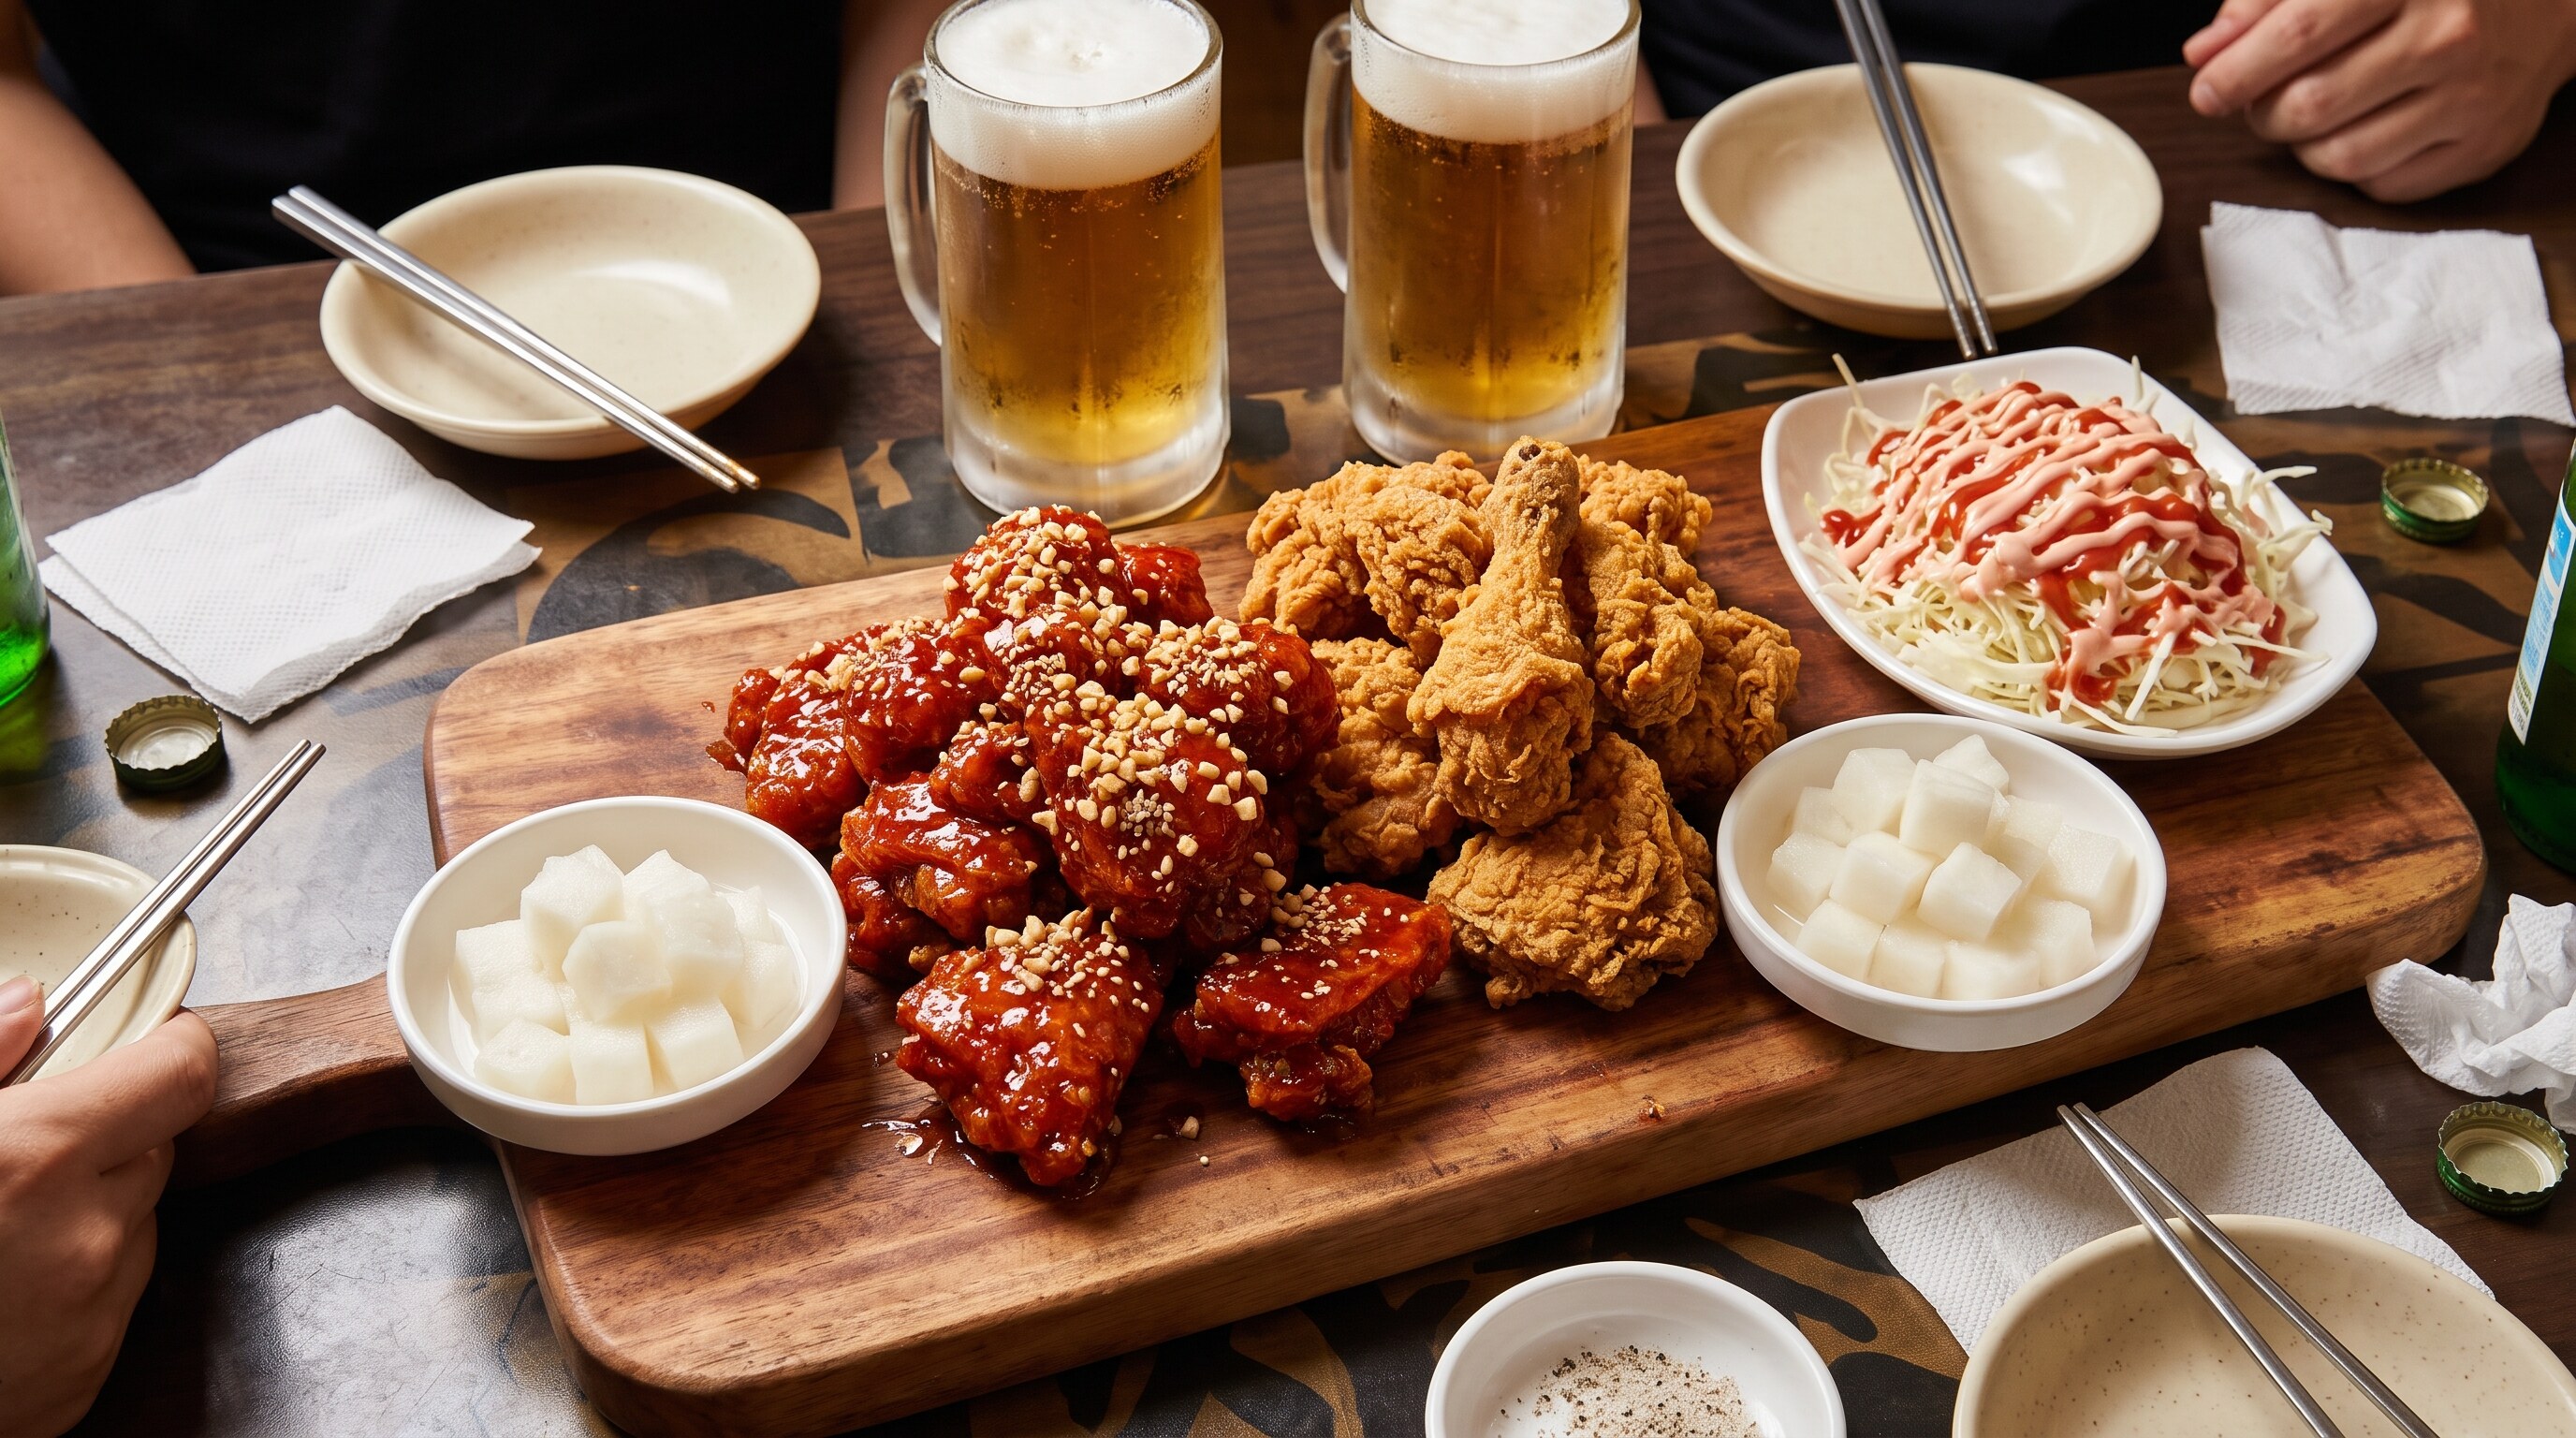
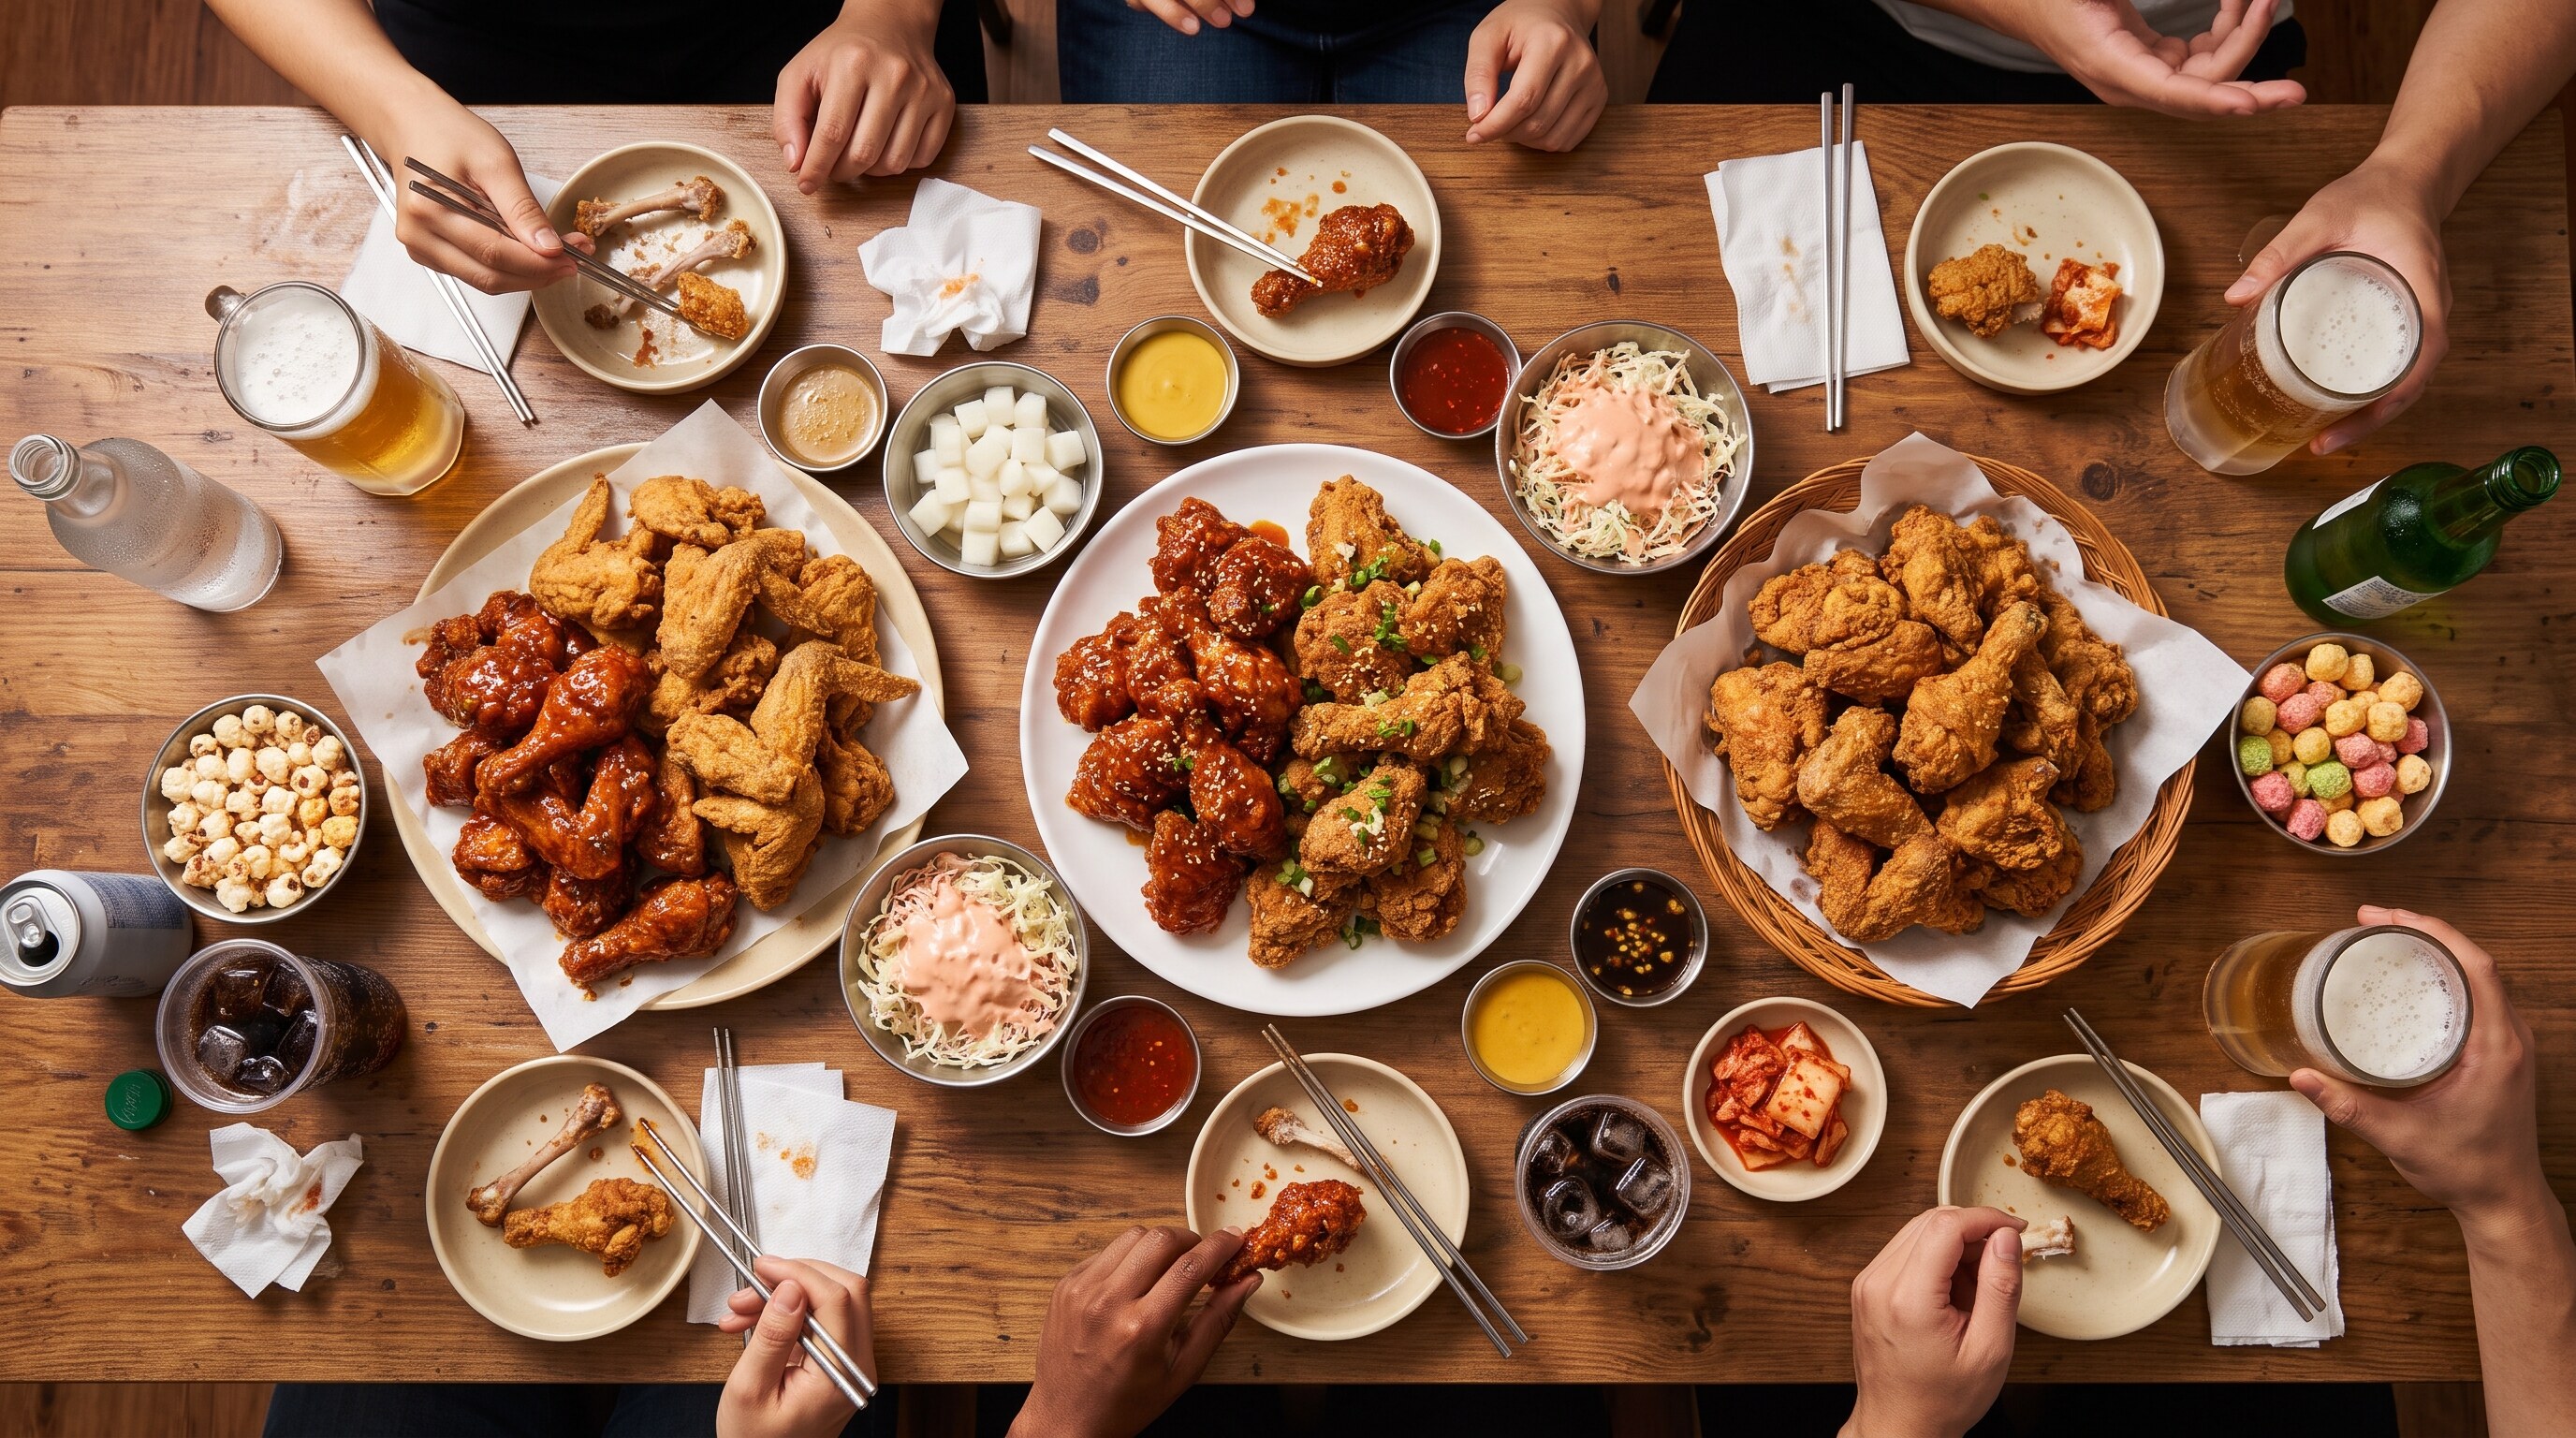
In South Korea, fried chicken is a cultural ritual known as Chimaek (치맥)—a fusion of Chikin (치킨, fried chicken) and Maekju (맥주, beer). The crisp effervescence of an ice-cold pale lager (such as Terra, Cass, or any crisp pilsner) cuts effortlessly through the rich, garlicky sweetness of the Yangnyeom glaze.
Bonus 5-Minute Prep: Quick Korean Pickled Radish (Chikin-Mu)
No Korean chicken box is complete without crunchy white pickled radish cubes (Chikin-Mu). Whisk this together right before you start brining the chicken:
- Peel and dice 300g (10.5 oz) Korean radish (mu) or daikon radish into 1.5cm (0.6-inch) cubes and pack into a glass jar.
- In a small saucepan, bring 120ml (1/2 cup) water, 120ml (1/2 cup) distilled white or rice vinegar, 100g (1/2 cup) granulated white sugar, and 1 tsp (6g) fine sea salt just to a boil until dissolved.
- Pour the hot brine directly over the cubed radish (the heat slightly blanches the exterior for instant crunch), cool for 15 minutes, and chill in the refrigerator or over an ice bath until the chicken is fried!
Explore More Korean & Asian Culinary Science Classics
If you enjoyed mastering the double-fry starch science of Korean Fried Chicken, explore our other restaurant-grade recipes:
- Compare dry starch dredging against the wet settled-starch method (앙금 반죽) in our Crispy Sweet and Sour Pork Recipe (Tangsuyuk).
- Craving a savory, caramelized soy-braised chicken loaded with chewy glass noodles? Try Andong Jjimdak (Korean Braised Soy Chicken).
- Warm up with a fiery, deeply savory one-pot poultry stew in our Spicy Braised Chicken (Dakbokkeumtang).
- Build an unforgettable weekend K-BBQ spread with Classic Korean Beef Bulgogi and smoky Jeyuk Bokkeum (Spicy Korean Pork Stir-Fry).
- Balance rich fried dishes with a bubbling earthen pot of Pork Kimchi Jjigae.